Wandering Around Out There With A Canoe On My Head
Advertisement
Wandering Around Out There With A Canoe On My Head

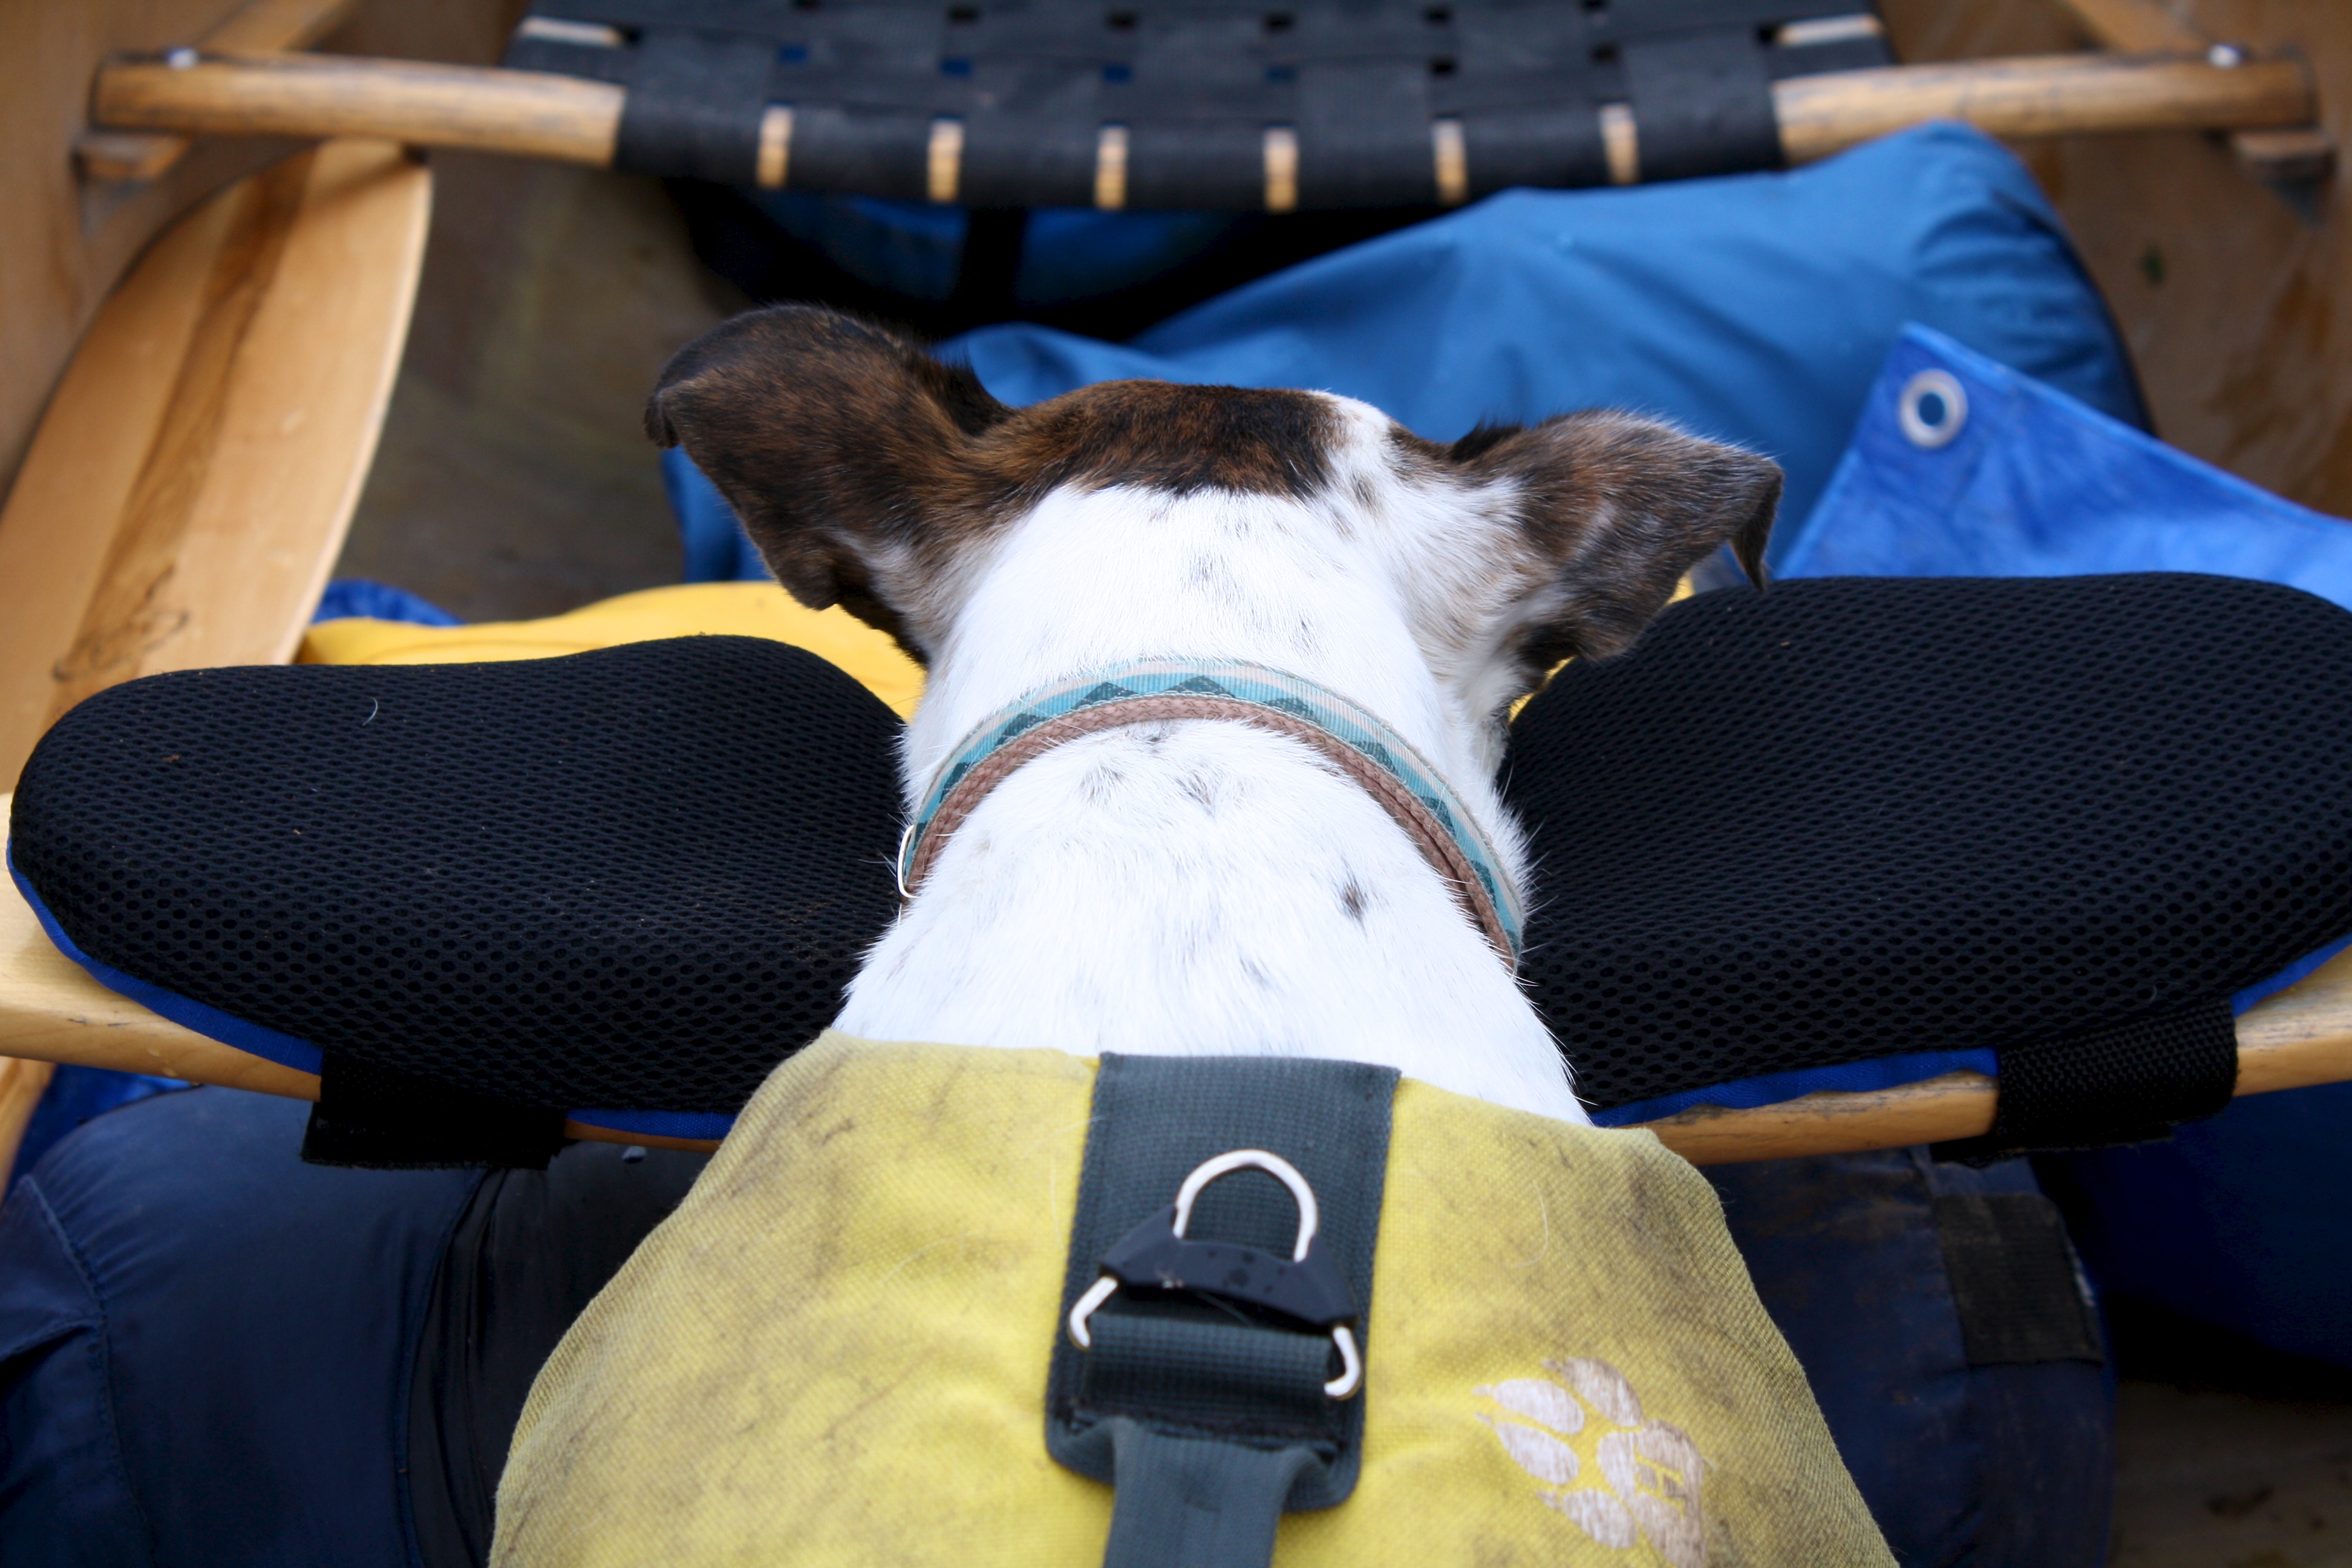
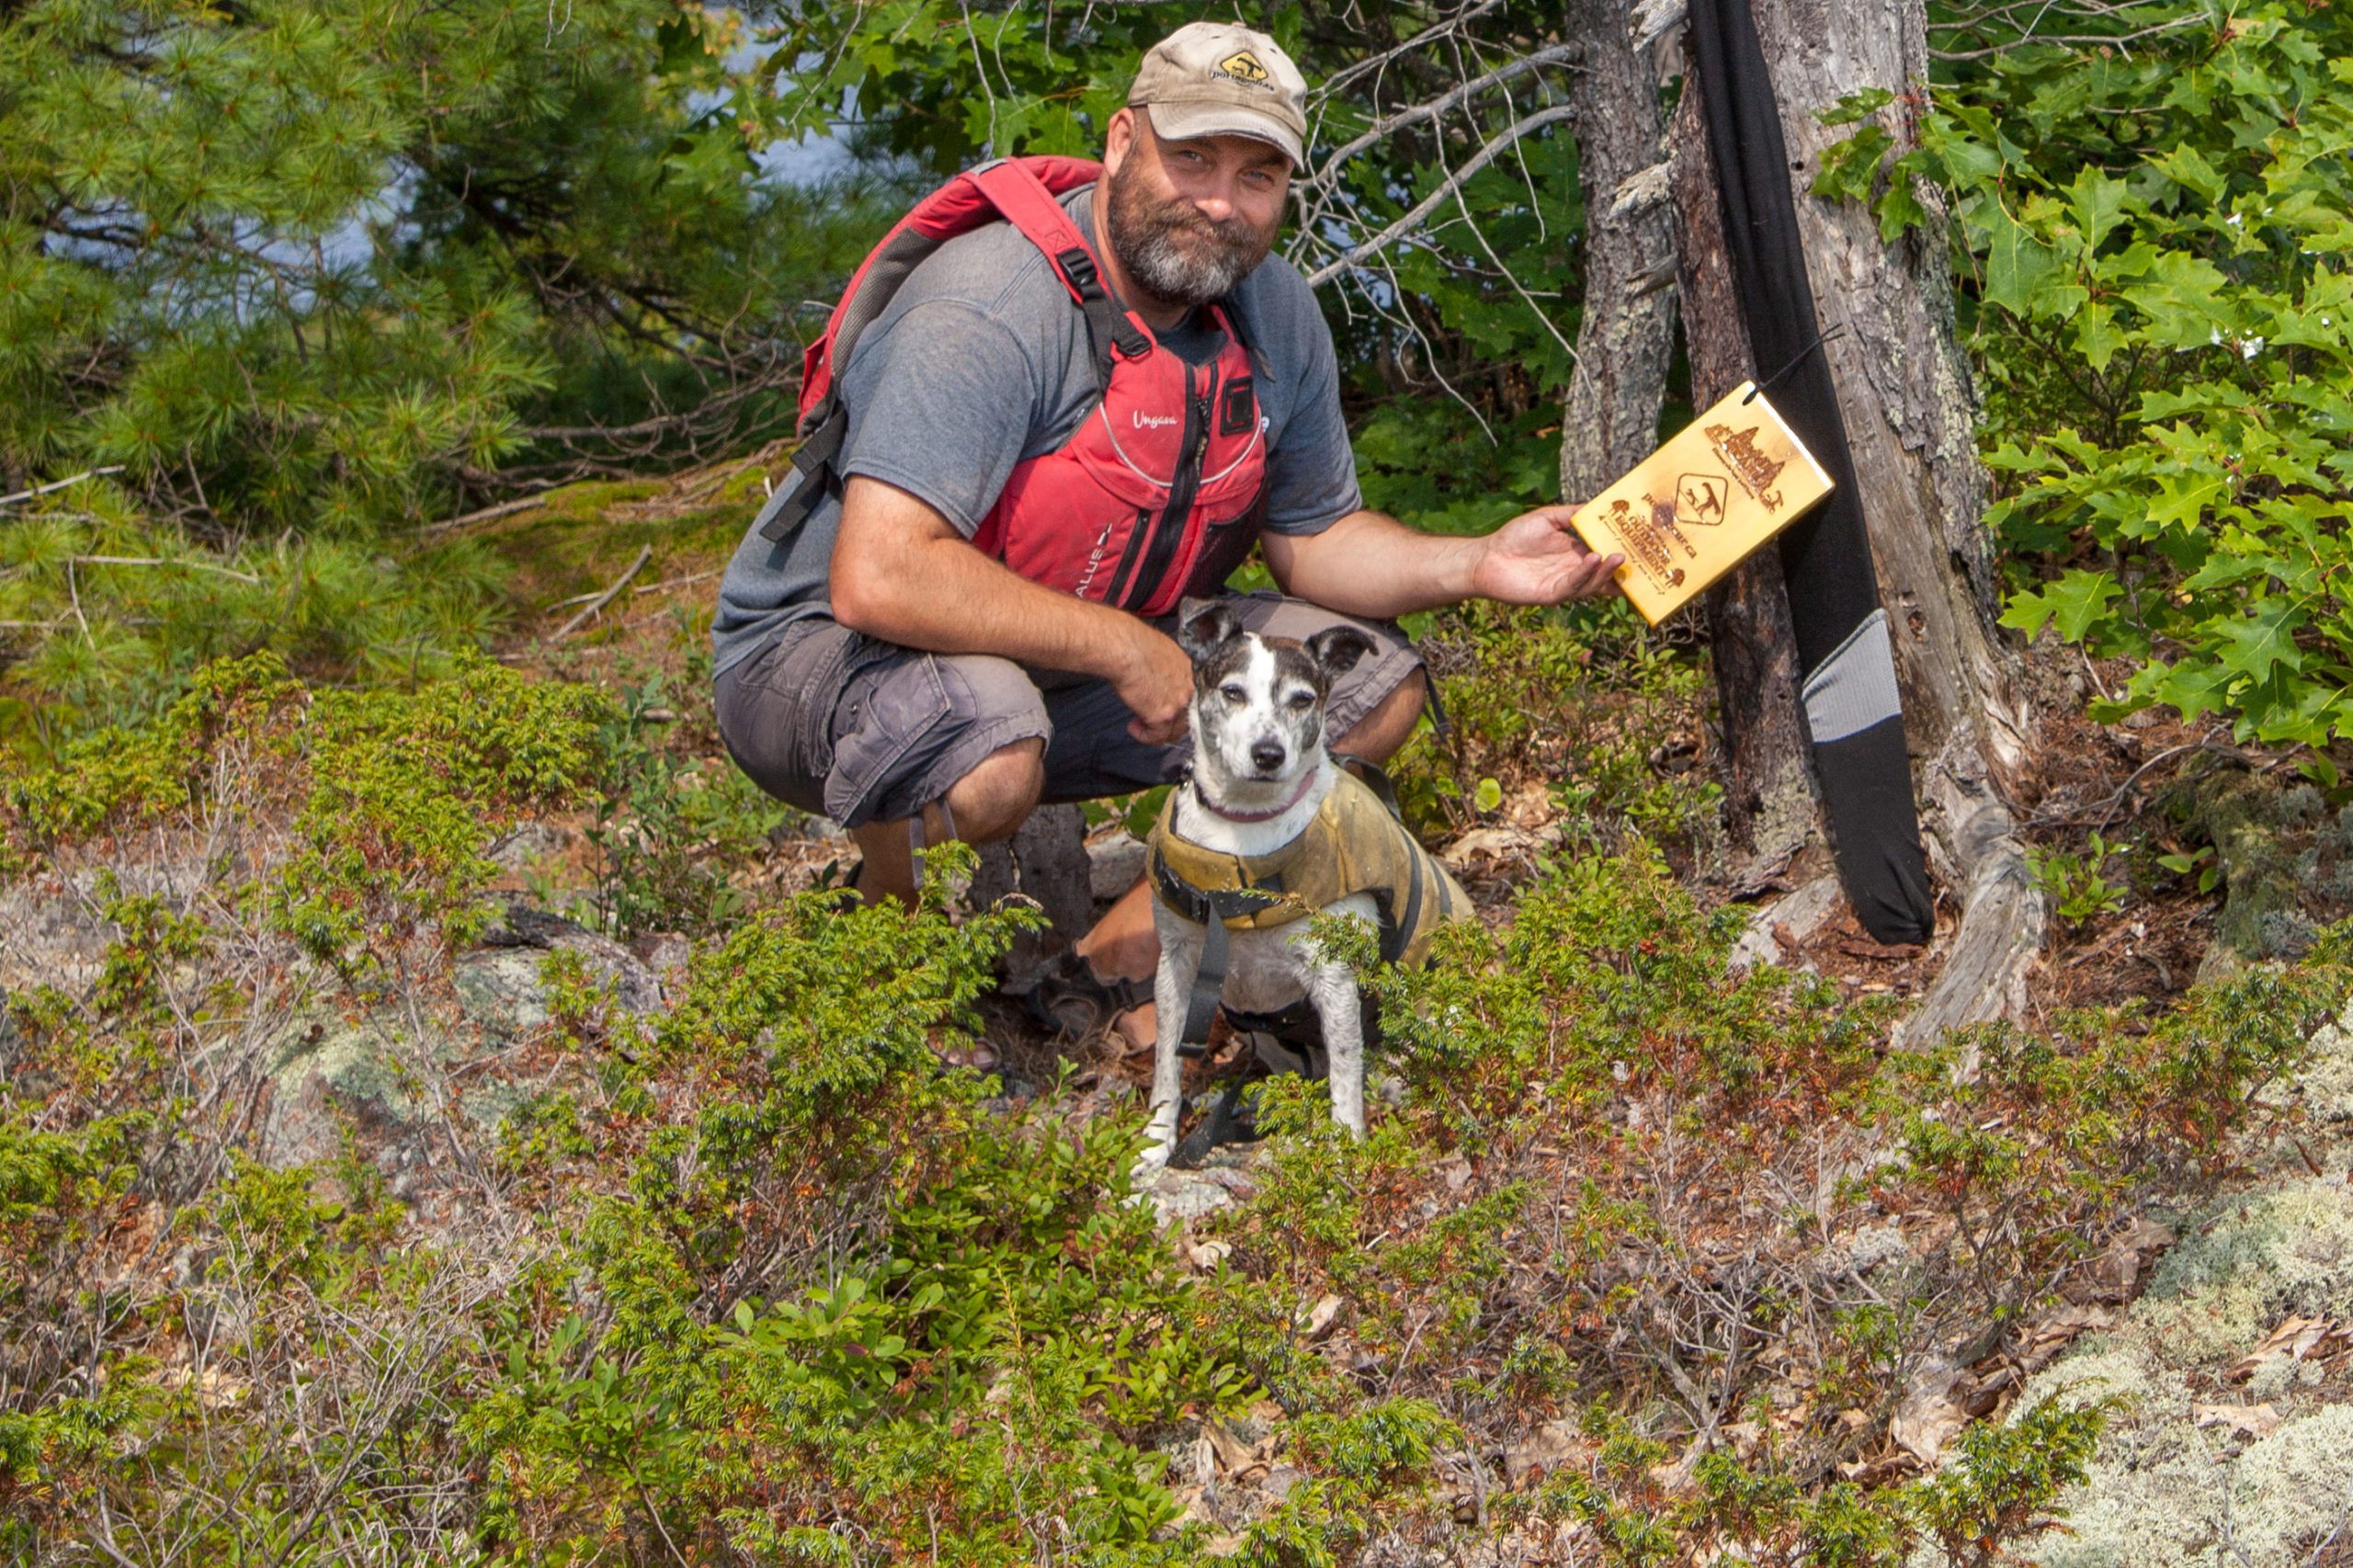
See how the pack aligns along my back? Pull those stabilizing traps.
Quite regularly, I forget how much time I spend camping, canoeing and portaging compared to most other people. I want to say this in the least obnoxious way possible, but sometimes I don’t realise that certain things that are (by now) habit for me turns out to be a helpful tip to someone else. And it’s that very avoidance of being obnoxious that I don’t go around shouting all these things out at people. I mean, there’s some obvious knowledge to convey to beginners. I’m not talking about that kind of stuff. What I’m talking about is the stuff that makes some of your friends – the people with whom you’ve been on countless trips over the years – that say to you “Man that would have been helpful to know a lot sooner. Why are you holding out on us?” (While other friends might just respond with “Duh?”)
So here is a small list of random things that you may or may not know. But just in case, I’ll run them down anyway. Each of these things were realized by or conveyed to me at some point and I thought they were simple but brilliant, wondering why I hadn’t thought of that sooner. Some I’ve known for a long time, others not as long. (As much as I don’t want to be obnoxious, I don’t want to be embarrassed either, so I won’t tell you which I learned when.)
1 – Stabilize. Often.
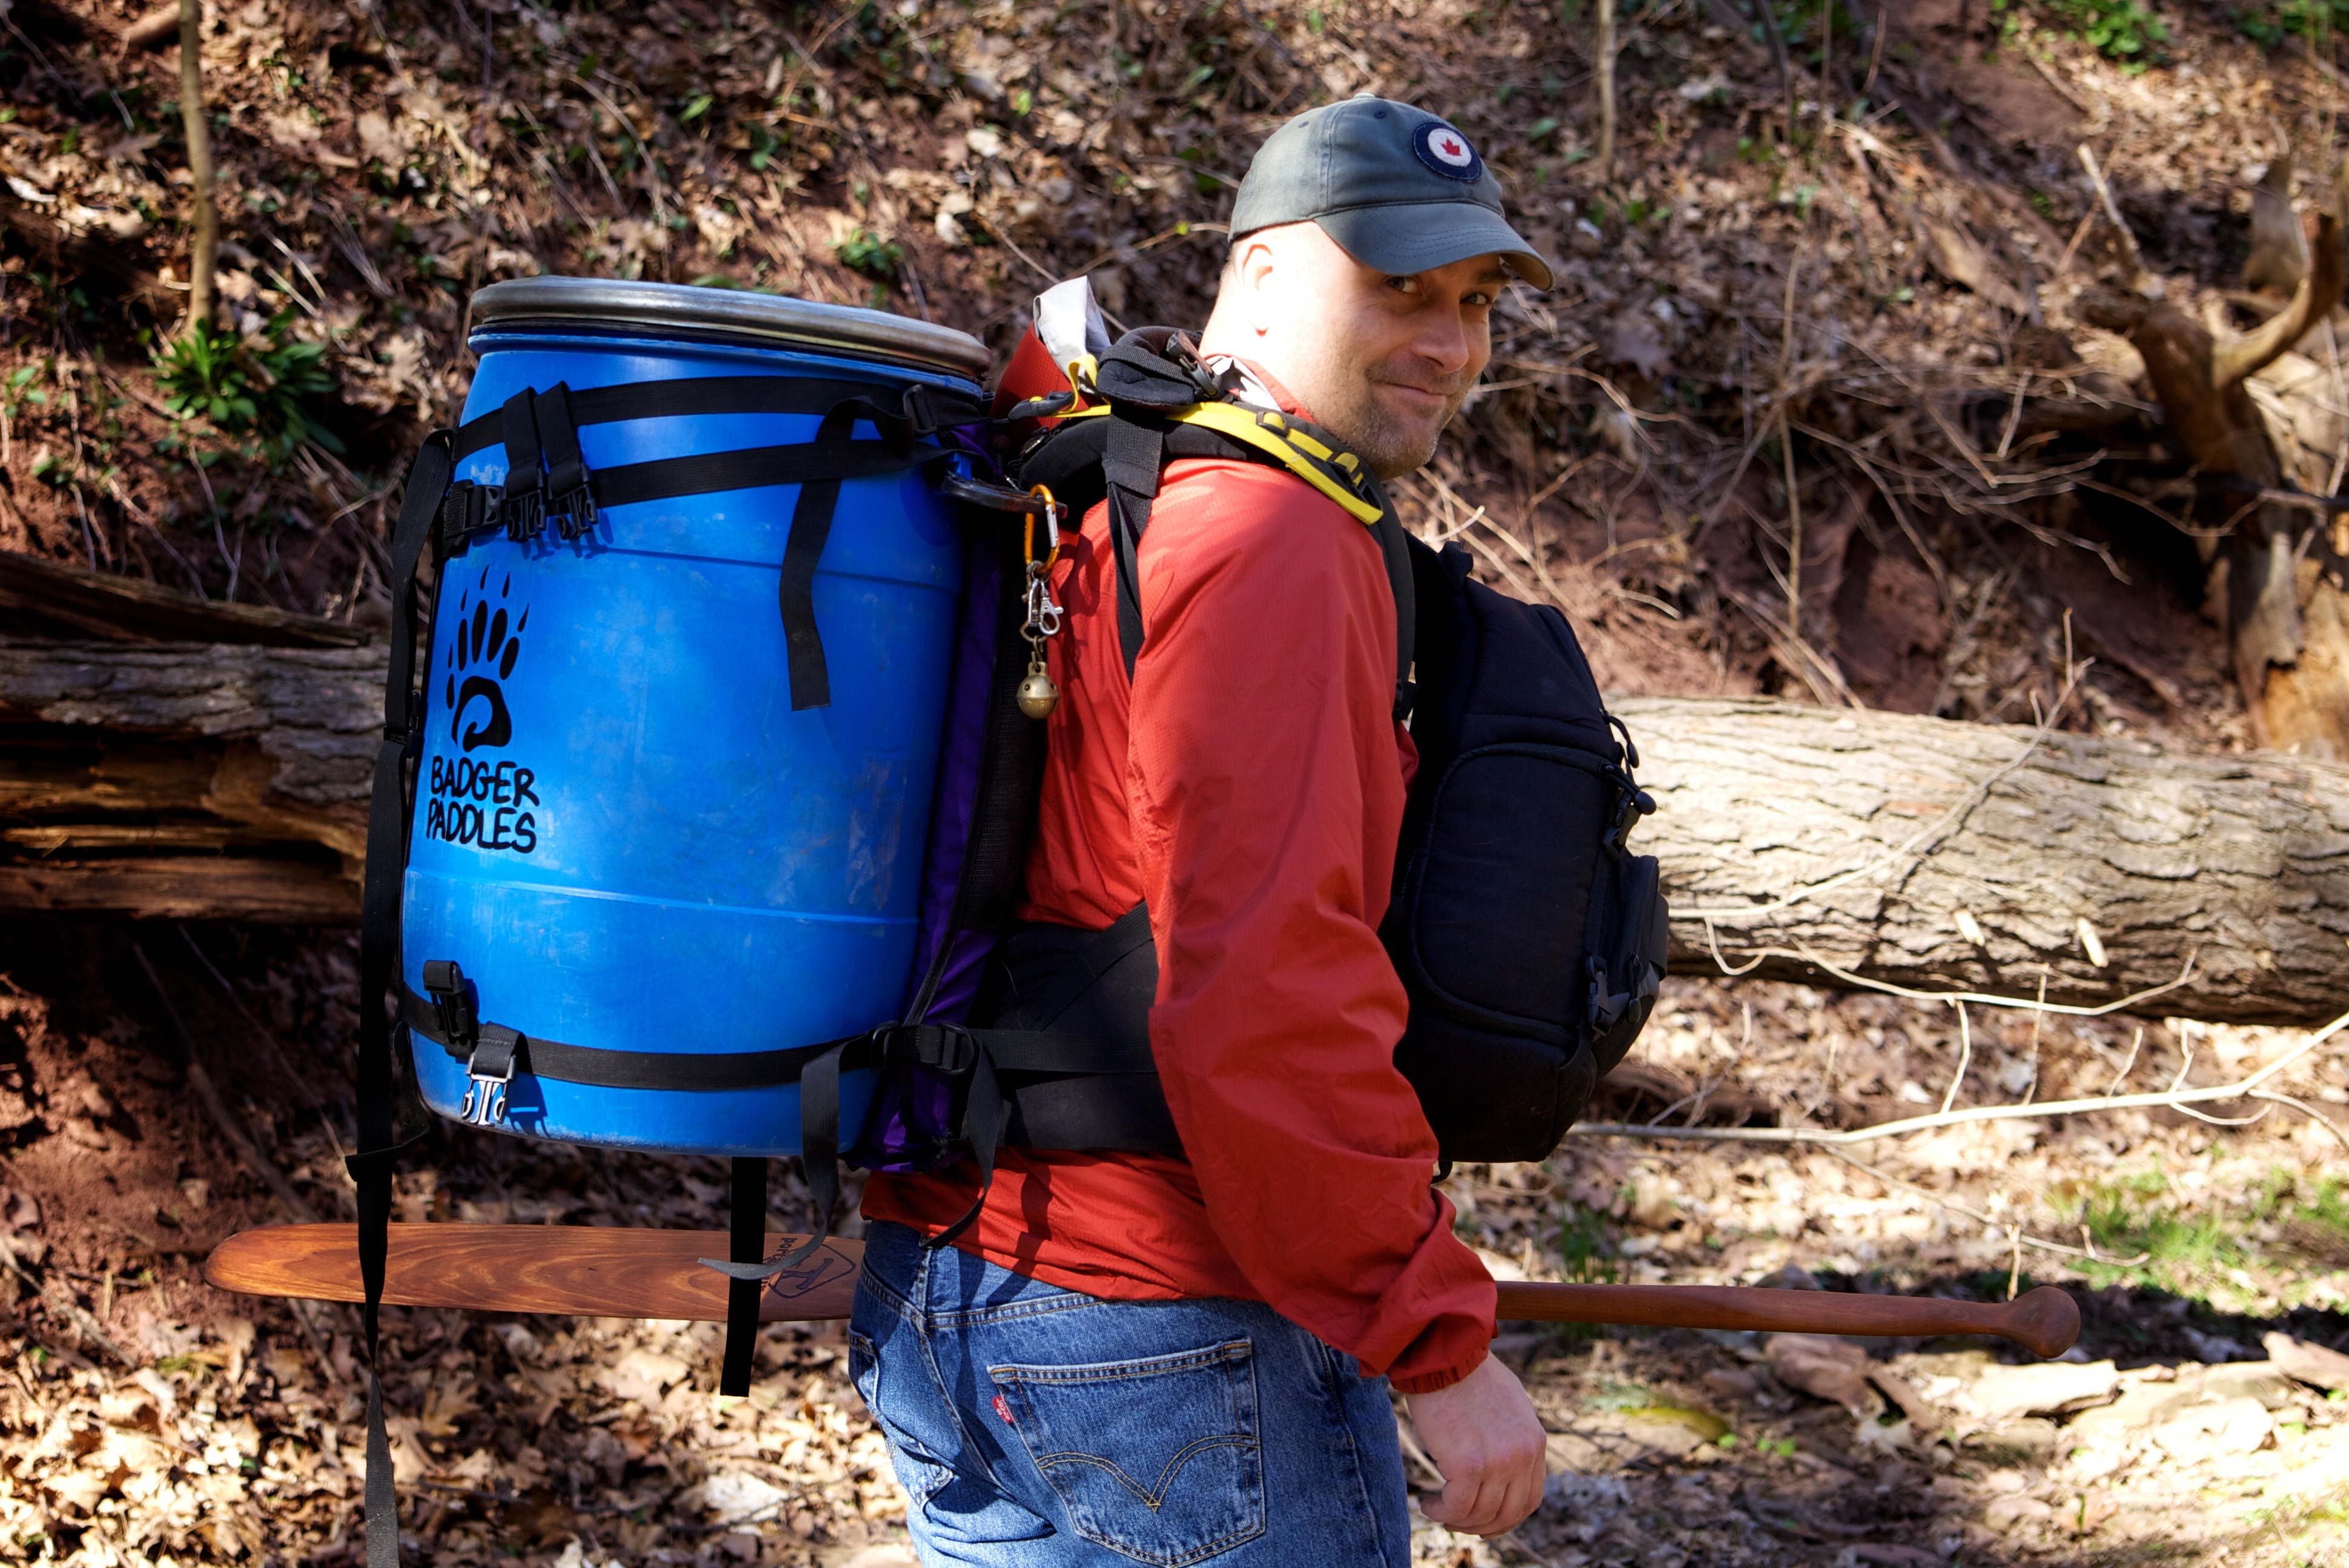
Stabilising straps are the little ones that are on your pack’s shoulder straps, sometimes called “load lifters”. When tightened, they pull the top of your pack closer to your back, making it vertical and so more properly able to distribute the weight on your waist and shoulders. Or to put it another way, they make your pack more comfortable to wear. These are not necessarily meant to be set once and forgotten. To allow taking your pack off and putting it back on more easily, loosen these straps before you take it off. As soon as you get it back on, connect your belt clip and whatever else you have do, then yank on those straps. (Ever wonder why they’re often a different colour than the other straps?) You’ll notice immediately that you’re much more comfortable, as most people who don’t (regularly) tighten them often hunch over, fighting the pack from pulling you from behind. Bonus tip: You know that strap that goes across your chest (on some packs)? It’s normally called a sternum strap. It’s there just to keep your shoulder straps in place. It’s not supposed to be pulled tight. That just makes it harder to breath, and so uncomfortable. (Also, if you’re helping a woman fit their pack, let them do the sternum strap themselves. Trust me, it avoids the risk of some rather awkward explanations.)
2 – Folding can stuff it!
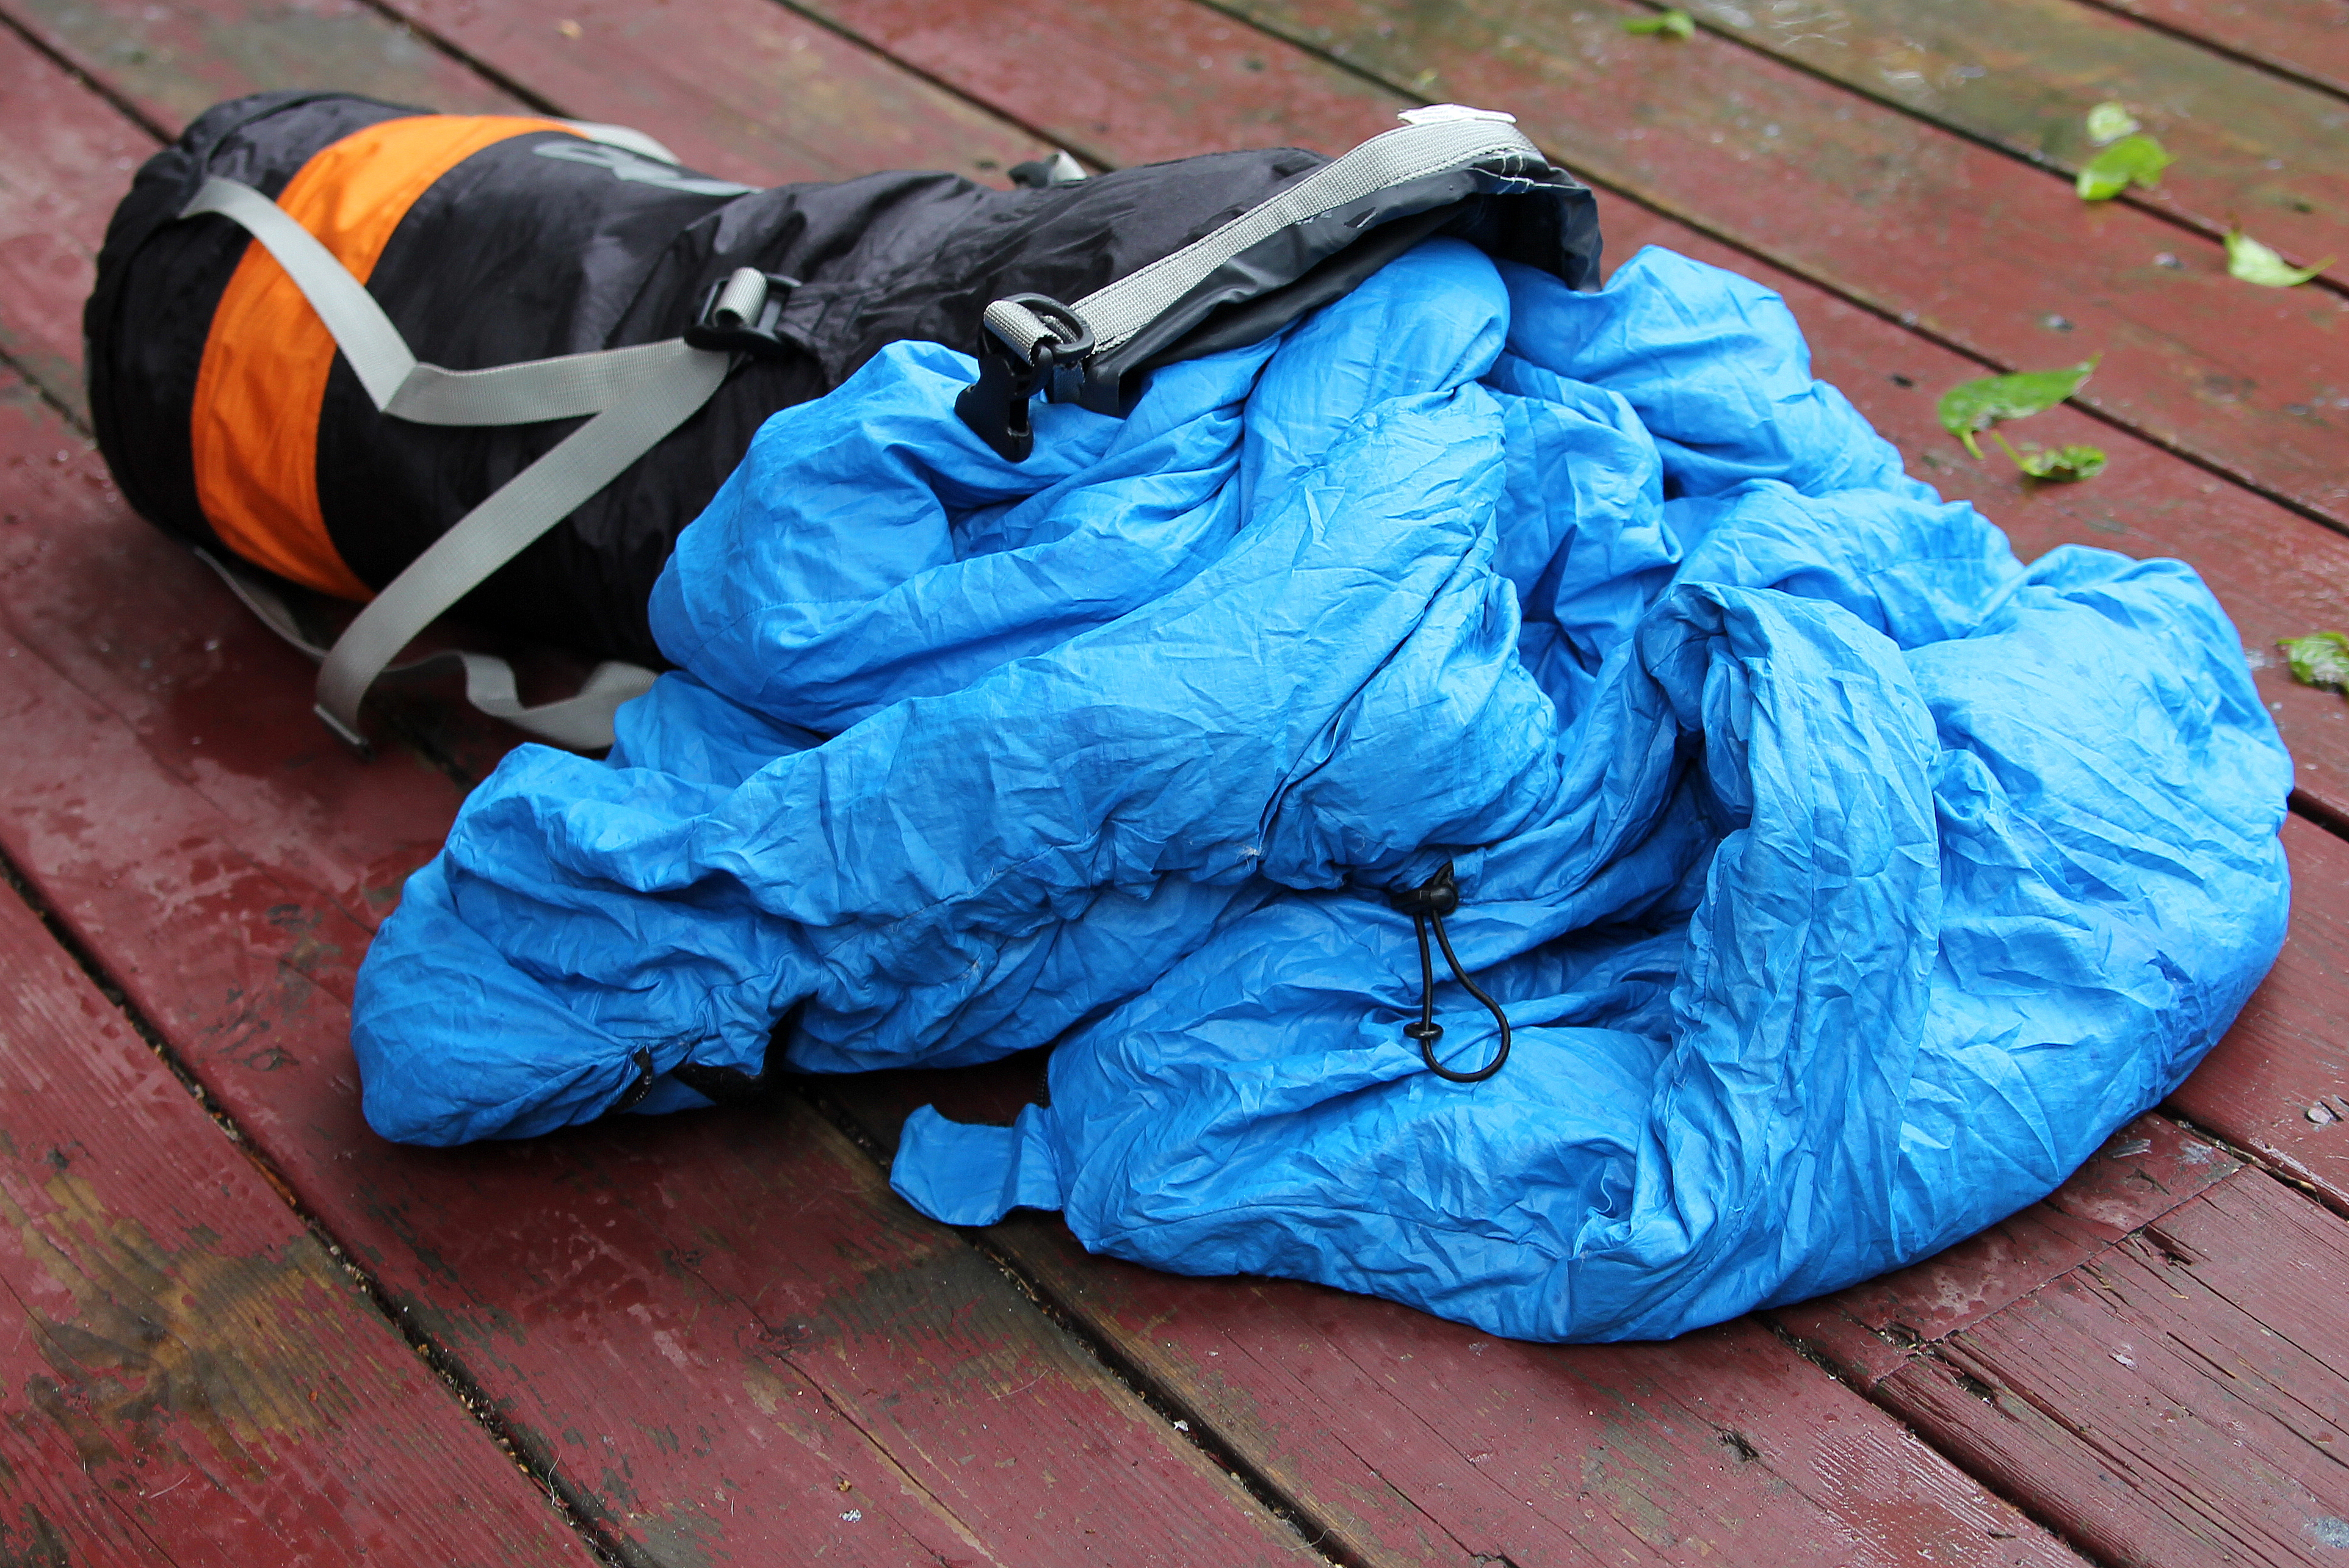
You can save a lot of time stuffing fabrics into bags rather than folding them neatly, especially when fighting larger items in the wind, or keeping them out of dirt. They’re called “stuff sacks” because you stuff, not because they hold stuff.* In fact, when you stuff, you’re not wasting any space in the sacks as everything will be pushed to all areas with no gaps that folding might cause. Larger items, like tents, flys and tarps can be folded once or twice for them to be manageable, then rolled. But don’t go crazy trying to be too neat in your folding. Often a good rule of thumb is to fold an item to the size of it’s bag, then roll it and stuff it. If these items don’t fit into their original bags, get a new bag that they’ll fit into properly. No sense wasting time, having sore hands from the dexterity involved, and more importantly, your losing your sanity. (Sorry to all those compulsive folders out there. If wrinkles are the worst hardship of camping, you’ve had a pretty great trip.)
*Actually, I don’t know that for sure. Maybe that was the original intended meaning, but not how we use it now.3 – Pee downhill.
Most people know not to pee into the wind. What’s not in songs or on t-shirts is that gravity does the same thing as wind. This advice is for keeping your shoes dry (and not gross) in the moment, but also other places. A steep hill, wet (saturated) soil and flat rocks can allow liquids to travel down enough of a distance for a surprise inconvenience. I remember once seeing a mini yellow river make it’s way right into the middle of camp that we had to deal with for the rest of our stay. Obviously, the culprit was well hydrated. There’s a chance that culprit may have been me. I don’t remember. But either way, I know not to do that now. Usually. (*Note: If you practice Leave No Trace, this shouldn’t be much of a problem as you’re supposed to be “going” at least 200ft away from a water source, so perhaps the camp as well.)
4 – Pillows are anything soft.
Sure a camping pillow might be ideally designed to hold your head up in comfort, and they make some really fancy ones now. But really, anything you can stuff something soft into and keep your head a few inches off the ground can be used as a pillow. The stuff sack that holds your extra clothes is perfect for this. I keep mine in a compression bag which keeps it small but tight. Before I go to sleep I simply loosen it a bit for better comfort. In fact, I find this even more comfortable and soft than a blow up pillow. If I could find a way to stuff something big and flat enough to use as a sleeping pad, I’d do that too. The bag your sleeping bag comes in is also good, especially if you want a bigger pillow. You have to take out the sleeping bag anyway, so throw everything you have that’s soft in there until it’s comfy for you – extra tarps, rain gear, clothes, even the TP. I almost forgot about PFDs! They’re very good pillows. Turn them inside out to avoid the buckles and zippers, or just throw it in a sack. Just remember, nothing smelly should go in the tent, so avoid using those items to stuff your pillow. (Other people can be soft enough to use as a pillow as well. Just make sure you know them well enough before you try it. Or that they’re sound sleepers.)
5 – Hang Your Food In The Open.
They just told you that your food needs to be hung from a tree. You wander away from camp, into the forest looking for a branch but you now realise there’s no branches within a reasonable height for you to throw a rope over. All the trees in there are tall, skinny, with branches way too far up. You wander around deeper and deeper into the woods, cursing whoever is making you do this, thinking why are all the good branches back at camp, but still nothing. (It’s weird and yet instinctive, but we almost feel like we have to hide the food bag further into the forest. But that’s where the critters come from.)
Yeah… here’s the thing: Under the canopy, trees drop their lower branches as they grow taller. They’re useless to them unless they can get sunlight. With all that tree competition for light, they’re all tall and skinny – and branchless except for at the very top. To find a suitable, reasonably low branch , you need to find an opening in the forest canopy. Those trees will have lower branches. Look closer to a shore or in gaps where trees can’t grow together densely so the ones that do can spread out a bit. Wandering further into the forest is just going to find you more skinny tall trees.
Note: Ontario Parks recommends hanging your food at least 6m (20ft) above the ground.
6 – Marketing Right Side Up.
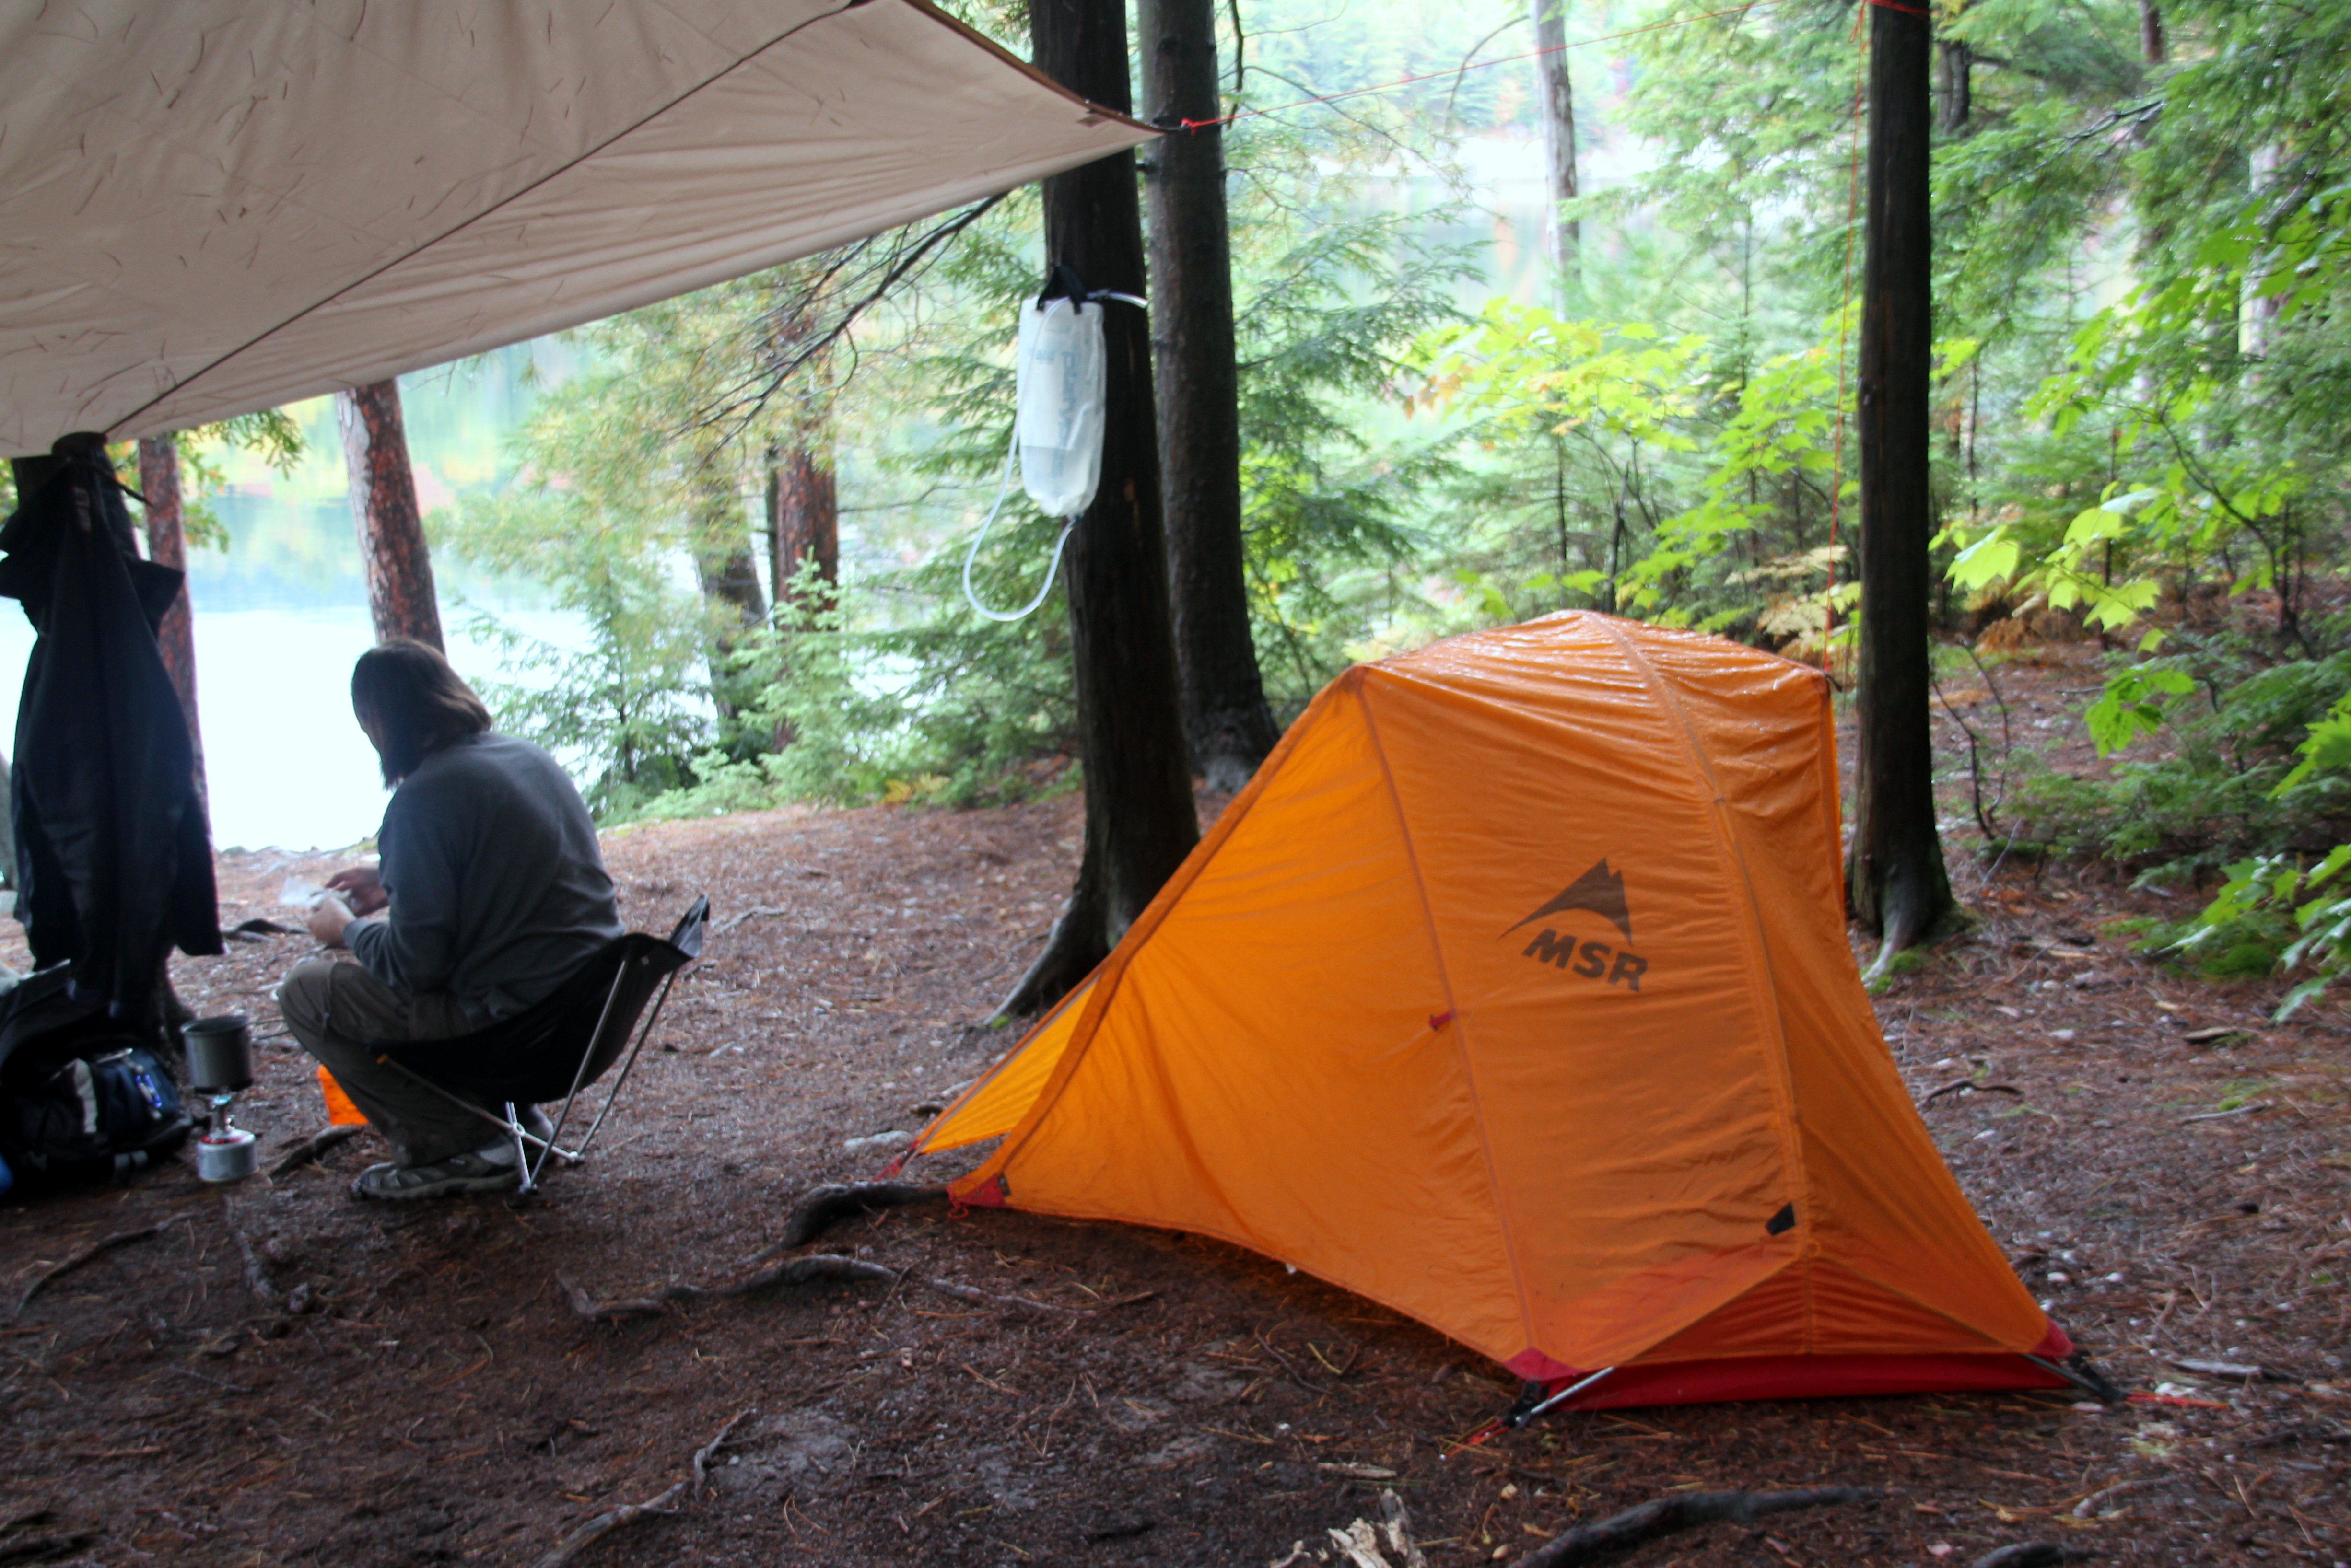
Ever wonder whether something is upside down or backwards? A sure-fire tip is that if you can read the manufacturer’s logo, you’ve got it right. No need to roll it all out and check which side is up. It’s not a coincidence. The tent maker’s are going to want you to recognise their tent, so if you throw the fly on and you can read it clearly, it’s on right. Same goes for bags, clothes, sleeping bags, sleeping pads, tarps, pots, or anything you have to put together or unravel.
7 – Pool the TP
They’re smaller and not as foolproof, but as a non-critical need or backup, Ziplocs (or their generic brand equivalent) can keep things nice and dry like little, cheap dry bags. Just make sure you zip them up good. I often use double zip freezer bags, which give you a bit more reliability and are more durable so you can re-use them often. A perfect use for them: I use a big bag to hold all the group’s toilet paper. That way it’s waterproof but can be kept easily accessible. The real tip here is that in bigger or unfamiliar groups, for some people knowing whether someone’s already using the privy can be a little awkward. I’m asked about this quite a bit, and I’ve heard of several less than reliable ways of indicating “Occupied!” Think about it. You have to look, but you don’t want to see – or be seen. And some people might not want to have that conversation, especially shouting it from camp. (“Hey Dorothy! Are you putting up the bear rope or doing what bears do in the woods?”)
What’s easier is simply knowing that if the TP bag is missing, you know someone’s using it. The down side is when you walk away with the big bag, everyone knows what you’re doing with it. Then again, these are the kinds of things you kinda got to get over in the backcountry. Let’s call it the lesser awkward.
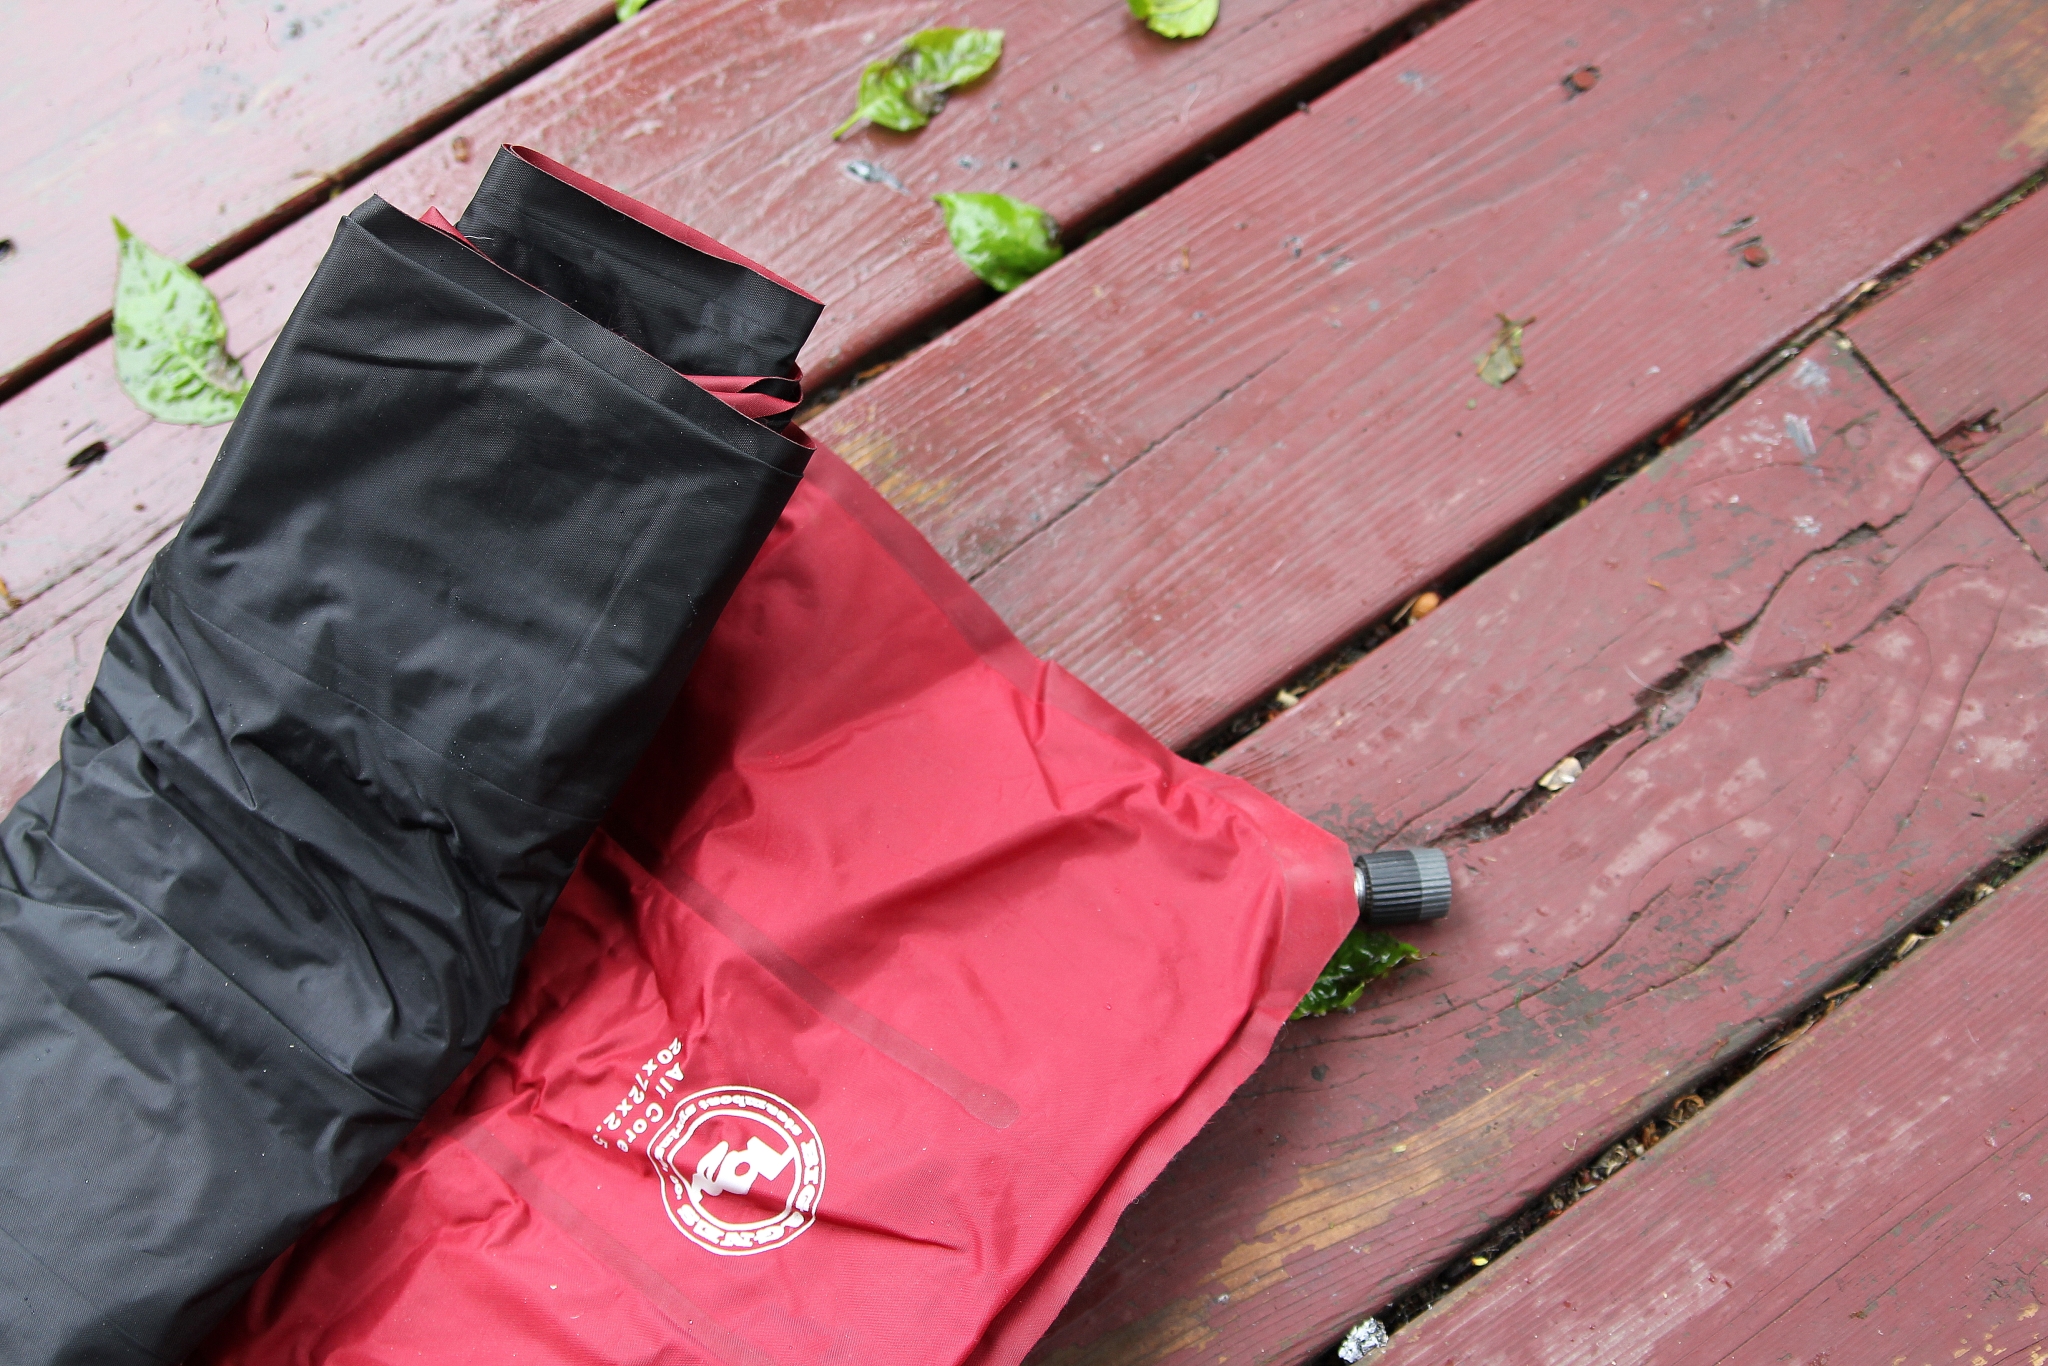
8 – Dry Bag = Water Bag.
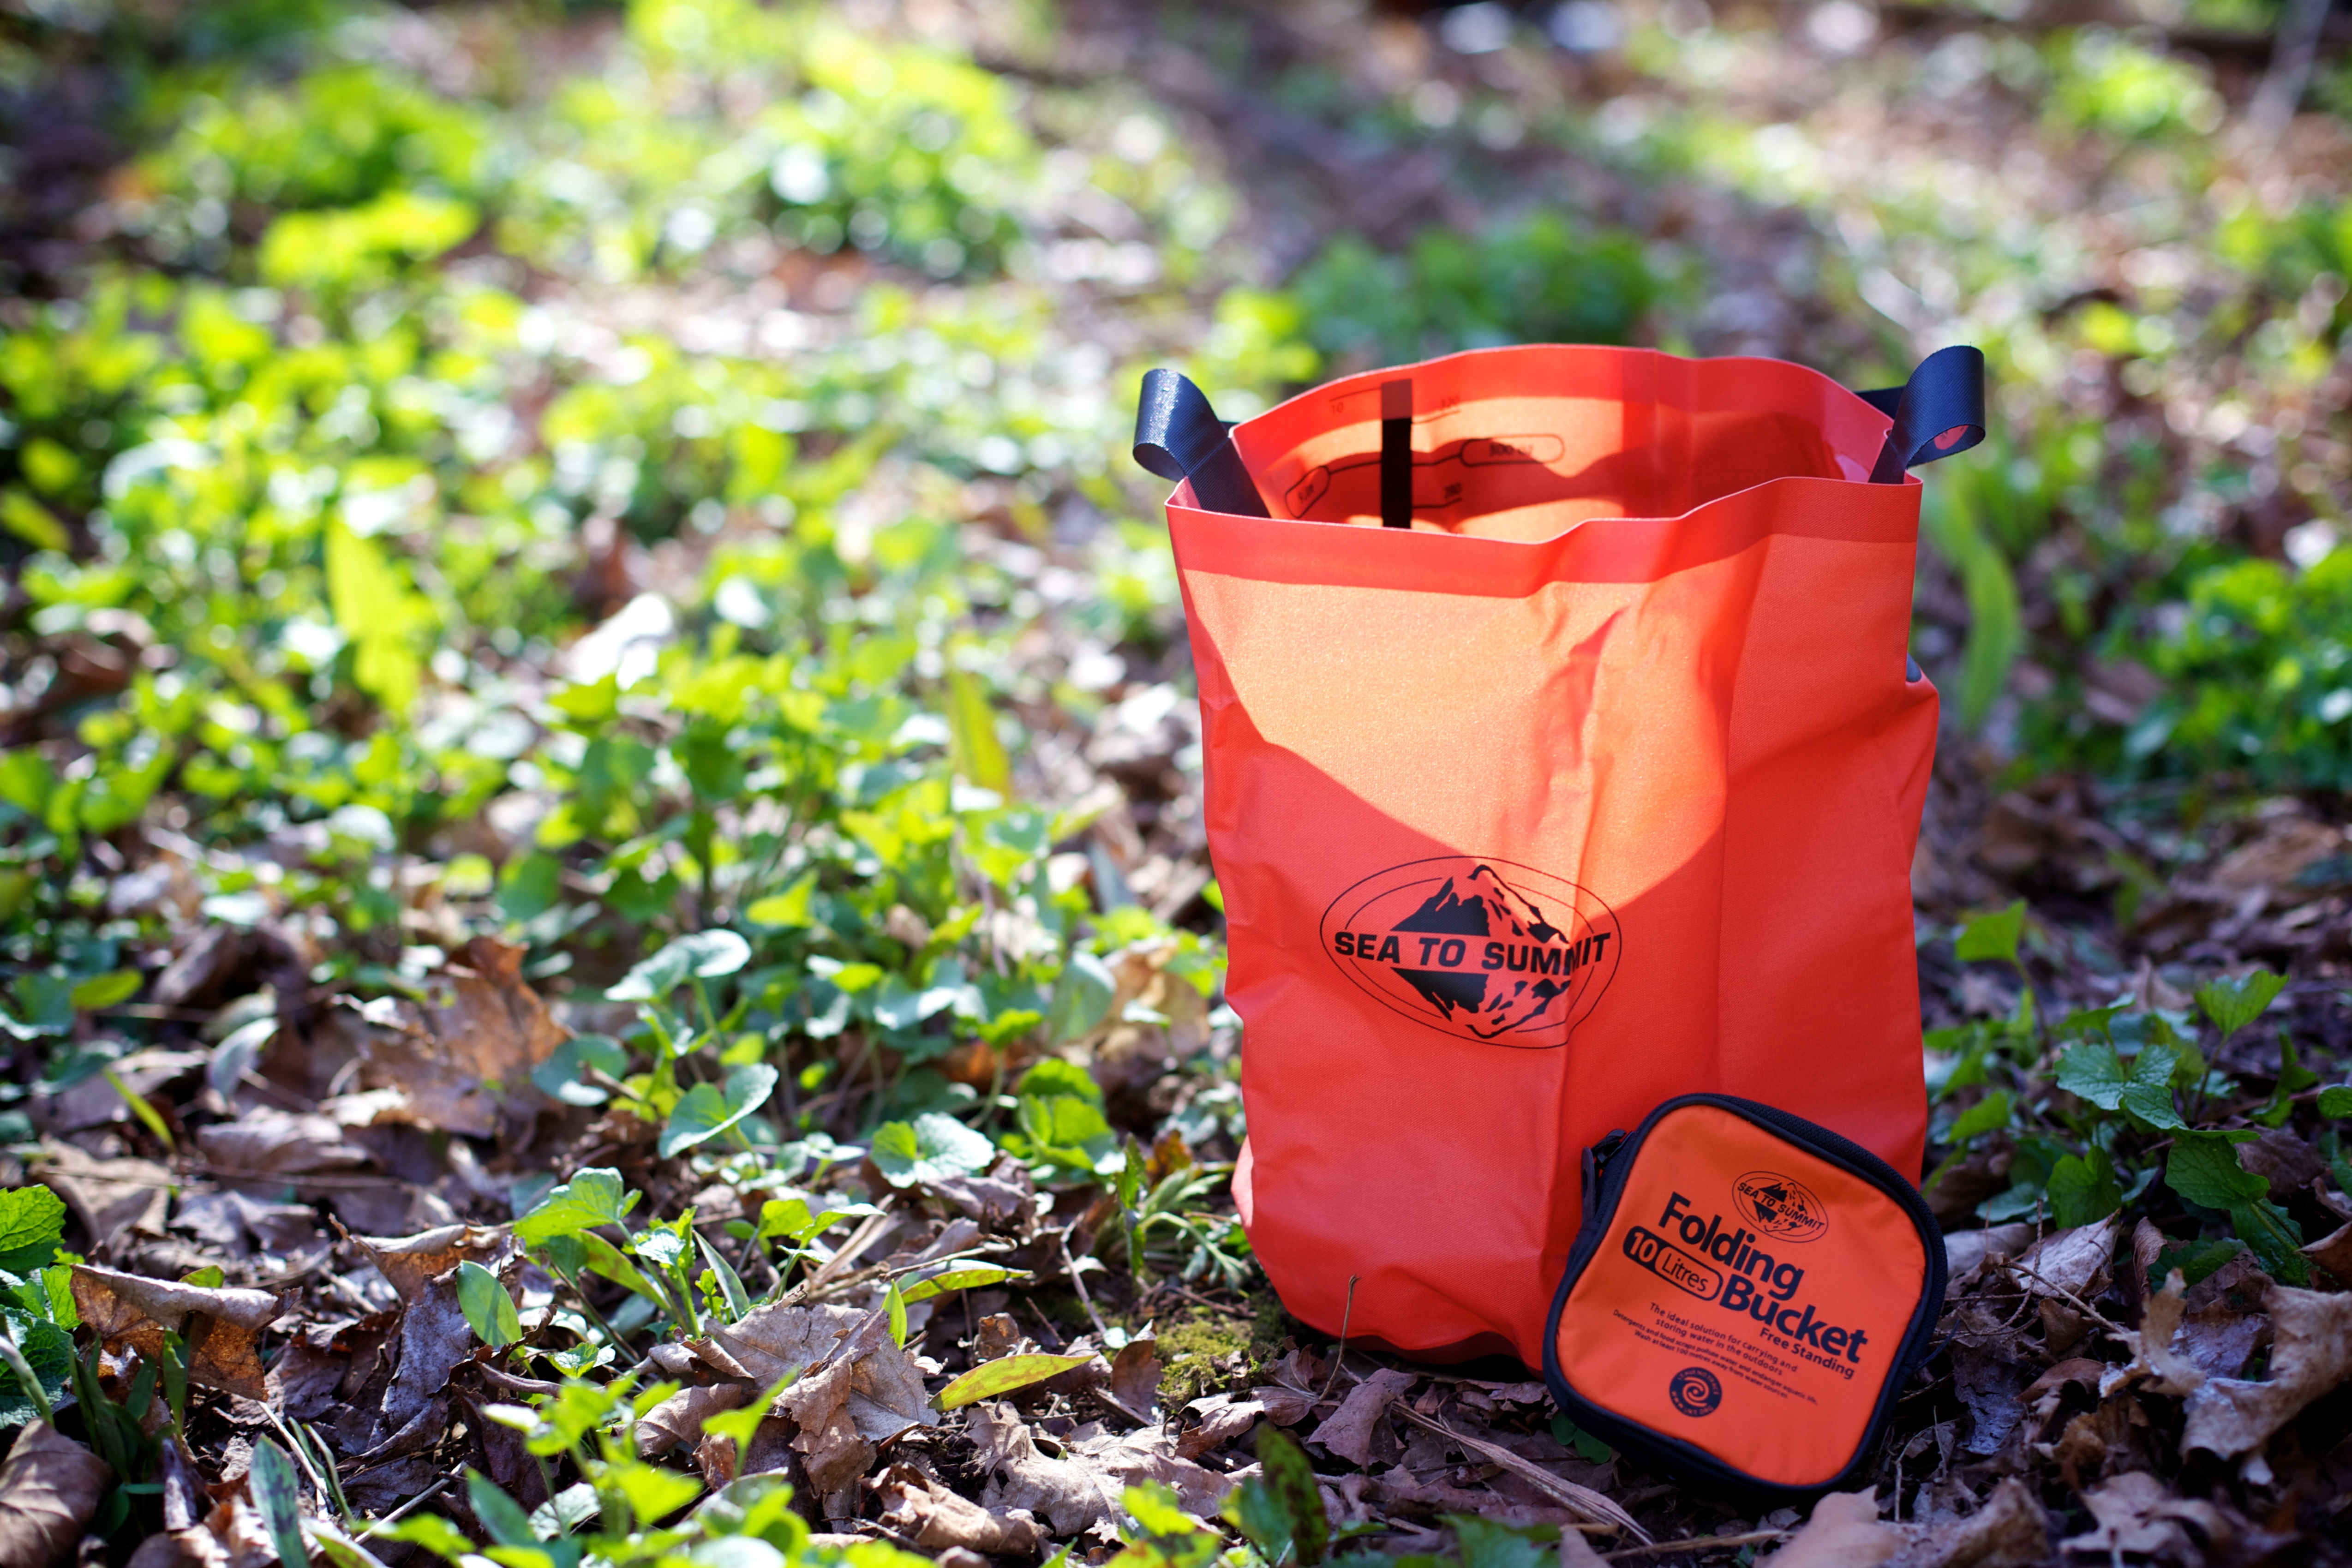
And speaking of dry bags, did you know the same premise that keeps water out of dry bags, water can also be kept in? (I know, genius stuff, right?) For example: Looking around for something to carry water to douse the campfire at the end of the night? Dry bag. Campsite pretty far away from water and don’t want to make to many trips? Dry bag. They usually even have handles to make carrying easier. (Warning: If your dry bag is made from rubbery or other smelly materiel, that will stink up your water, so don’t use it for drinking water.) I know what you’re saying: But if I’m trying to use it to keep things dry, won’t that wet the inside of the bag, defeating the purpose? Sure. But most bags are flexible enough to turn inside out. Do that before you fill it. Bonus related tip: How do you dry-out a dry bag if the insides get wet? Turn it inside out.
9 – Roll out the air.
I do this so often it’s second nature and forget it can be construed as a tip. If you need to get the air out of little bags, Ziplocs, airmattresses or other types of gear that might trap air, leave the seal open and roll it from the bottom towards the air opening and then seal it. This keeps air out of your gear, making them smaller and easier to pack, or fit back into their containers. (Another good reason not to fold, from point #2.) This also saves you from having to do that air-purge hug with the air mattress that we all do. For more fragile things like Ziploc bags, it also saves them from a potential pop when stuffed into your pack. Some tents can trap a little bit of air. If you roll from the back towards the door, all the air goes out. Another bonus, regarding tents in particular: If you roll from the back, holding it up with the door zipper open, often gravity can sweep some of the dirt, pine needles and leaves out.
10 – Rocks Rock.
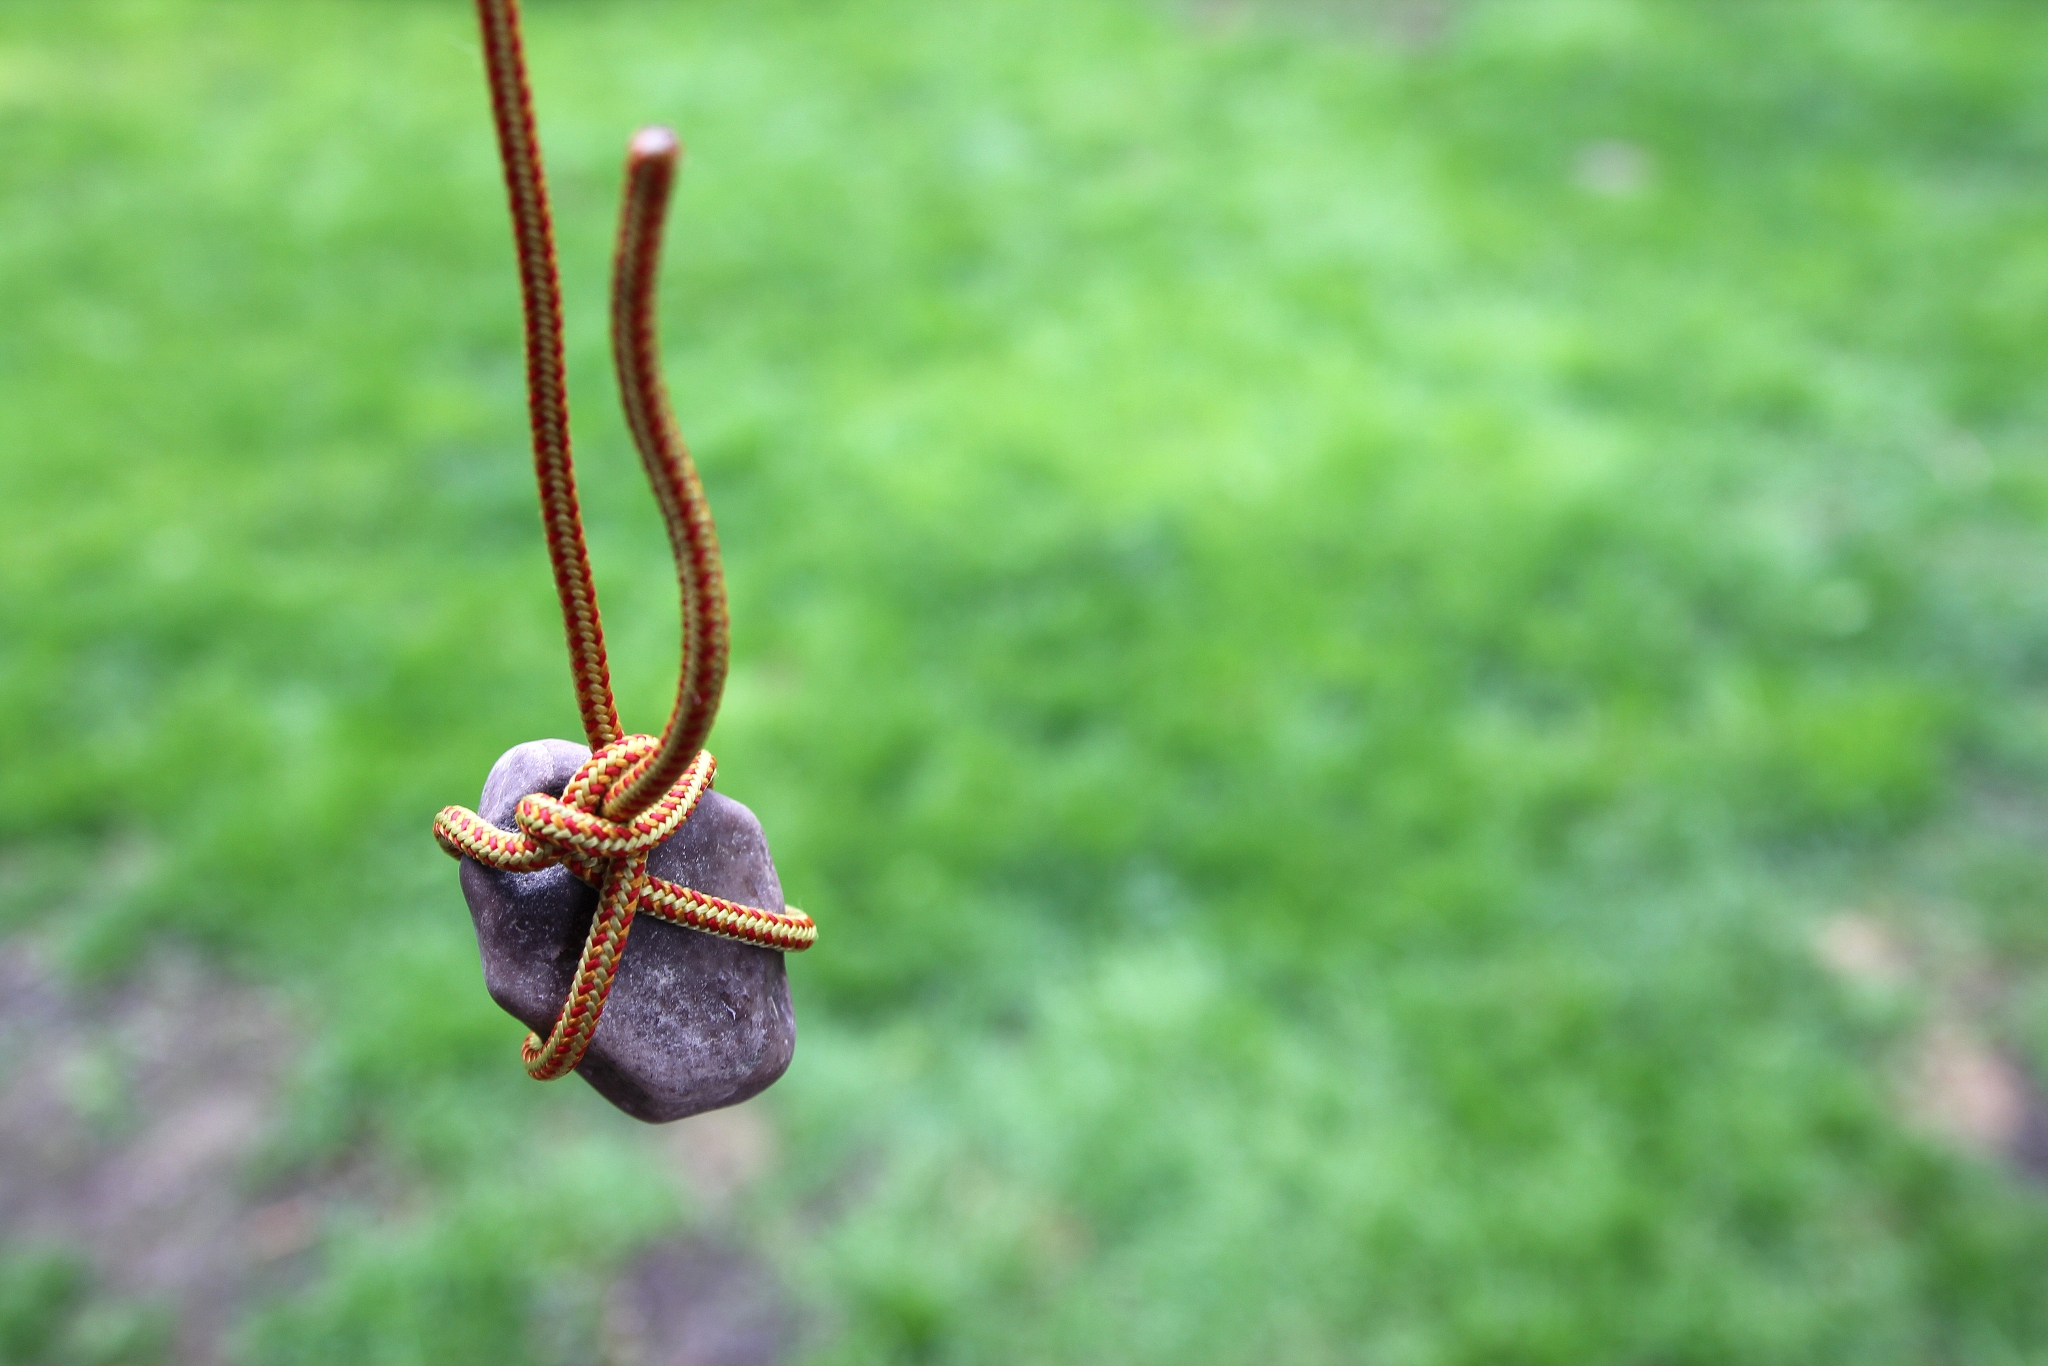
Another tip about hanging your food: You’re supposed to hang your food 6m high, which means throwing rope up at least that far. Being light weight, on its own, the rope rarely cooperates. You can fix that by tying a rock or stick (or something) to the end, which will give you enough momentum to get the rope over, and most importantly, back down.
I know, I know… You know that one already. Because of this, I’ll give you two bonus tips. First, when you tie your rock, criss-cross the rope around the rock before you tie it. This will keep the rock from slipping out after you’ve tossed it over the branch. This is even more important if you don’t get it over the branch on the first throw (I for one am horrible at that for some reason), and the rock rolls away out of sight.
Secondly, if you’re having a hard time finding a suitable rock, check the firepit and borrow one – just please put it back for the rest of us – and maybe not if you’ve already got the fire going. You could also use a suitable sized and weighted piece of gear as well. Just tie it well so it doesn’t go flying off where you can’t find it, and obviously choose something that is tough enough to survive the fall. (Sometimes several falls.)
Bonus bonus tip: Keep your rope away from the elbow of the branch, where it meets the trunk or where the branch splits in two. Often when you go to pull down your rope it will get caught there. Once your rope is up and over, you can move it back and forth on the branch by holding both ends of the rope rather than pulling the rope down and throwing it over again, or frustratingly trying to do that little rope flick thing with just one end (which usually pulls down the other end anyway).
There you have it. Some random tips that I forget that not everyone knows. Were there any surprises?
 June 1, 2012
Going Solo In a Tandem Canoe
June 1, 2012
Going Solo In a Tandem Canoe
 July 28, 2023
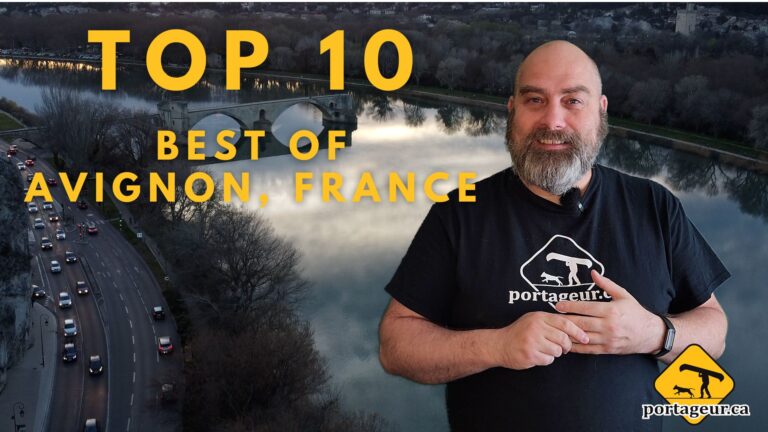
10 Best Things About Avignon, France
July 28, 2023
10 Best Things About Avignon, France
Come with me to Avignon, France as I talk about my absolute favourite things about visiting this historic, gorgeous town! […]
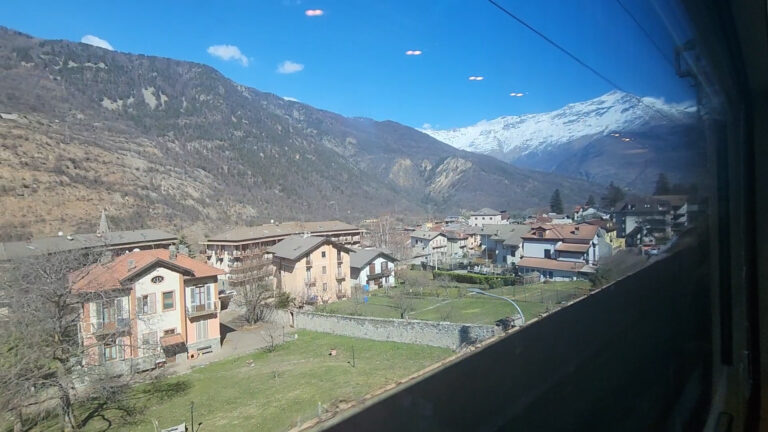
It was an adventure getting here, but I made it to Milan where I’ll be hanging out for the next […]
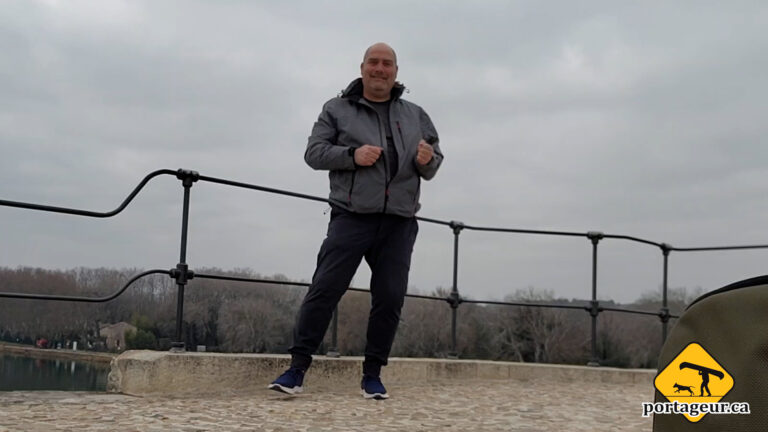
More fun stuff on my last day in Avignon. Sing it with me: Sur le pont d’Avignon, L’on y danse, […]
Session expired
Please log in again. The login page will open in a new tab. After logging in you can close it and return to this page.
If you have room in your backpack, you should try and use foam floor tiles for a softer, more comfortable tent floor. Obviously not something everyone can fit in their packs but can’t be underestimated in my opinion.
Great article.