Wandering Around Out There With A Canoe On My Head
Advertisement
Wandering Around Out There With A Canoe On My Head
Once again, with the paddling season nearing it’s completion, it’s time to talk about how us paddlers and campers can keep ourselves busy with activities while the rivers are still frozen. What would be great is to do something productive and it be paddling related. How about making a paddle?
Making Paddles
As I wrote about in an earlier post, last year walking around at the Great Outdoors and DIY Weekend, friends and I walked past a paddle maker’s booth and were absolutely stopped in our tracks. These were some really beautiful paddles, made by Bruce W. Smith, and we found out that he offered a paddle making course. For $100 and a day’s work, we could walk away with a custom paddle, styled and sized as we choose. As you can imagine, me and my paddling buddies could not pass this up. We enthusiastically signed up and spent the next few months talking about how cool this was going to be, and discussing which blade styles we’d all choose, like the giddy little paddling nerds we were. (There’s a change it may have only been me.)
 Agonizing Decision
I had a major problem. I spent many hours pondering which paddle style I wanted. Seriously, to the annoyance of those around me, I could not stop thinking about it and so talking about it. I really wanted to make this paddle perfect for me. Two of us – Gavin and Bill – had decided on Bruce’s custom designed “Bruce Smith Classic” style, as it combined many advantages for general tripping. Brad and I finally decided on the Ottertail, a nice and long blade but tapered thinner towards the bottom. This would slice through the water smoothly for long distance and have plenty of control for solo paddling. Perfect for me. It also looks very, very cool. (Admittedly, part of my difficulty in deciding was worrying that I was choosing form over function. Brad didn’t have this problem. He told me later his decision was exactly that.)
The Shop
Bruce’s shop is in the Elora area (Arliss, ON), so we got up nice and early and headed out on an overcast but warm day. The shop is a barn on a big lot surrounded by farms. When we got there we met up with the other guys in the class, and it was neat to see the group’s different perspectives. We were all paddlers at different levels of enthusiasm, but some of us were trippers, others campers or cottage canoers while others still were wood-crafters. And so we were all here to make paddles, but our reasons and appreciation for them came from different places. No matter how often this happens – more and more so the further you get from school – I still really appreciate when a group of people get together wanting to learn about something. To a man, we all seemed to have mentioned what a unique opportunity and downright cool experience this was going to be.
 The Paddle Maker
I’m not really sure how to describe Bruce. He’s very easy going, obviously loves his work, and loves to teach. As he went over the general plan for the day, the tools and the general concepts of working with wood, Bruce kept an atmosphere of a group of buddies getting together. He’s also pretty encouraging. Knowledge or confidence was never an issue with any of us, probably because he never let it be. We’d be fine, we’ll go through all that, we’d see. No problem. Except there was one, tiny, insignificant but hugely important one: I absolutely suck at wood-working.
Can I do this?
While Bruce was showing us our tools – our planes, spokeshaves, files and our rasps – I had a sudden and almost paralyzing thought. I don’t know how to do any of this stuff. I once made a napkin holder in shop, way back in the seventh grade, but that was pretty much it. And that napkin holder, it really sucked! My parents had very politely used it as a pencil holder for a while, but it was always falling over, at which point it became just a decoration, until it disintegrated into flat, non-matching pieces of wood. My plan to make the perfect beautiful kick ass paddle had a huge gaping flaw – and hopefully my paddle wouldn’t. I was used to chopping, snapping, cutting, splitting, chainsawing, or otherwise abusing wood. Carving it into a fine tool? Not so much.
As a testament to Bruce’s teaching methods, he assured me there was nothing to it, and if I followed his instruction I’d manage to get this thing done. We started with a “blank” – a pre-cut piece shaped and sized properly so we could get started carving right away. Rightly, Bruce felt most people get there ready to start at this stage, and it saved a bunch of time. It also had the added bonus of leaving me with one less thing I could screw up. (This is also why we needed to decide on size and shape a few weeks earlier.) We started by shaping the grip. Bruce showed us how to mark it with a pencil, and use that as a guide – a “no touch zone” – then rotate and repeat. The problem I had was that it didn’t seem to look like the crucial oval shape we were hoping for. I kept staring at it, certain I was doing it wrong, but trusted the instruction and worked away with my rasp. (Bill had the best line of the day, when he said that he would not have believed we could do so much with a cheese grater.)
 Teacher’s Pet
Of course what didn’t help was that I seemed to be the only one having a problem. Brad, for one, was really impressive. Bruce mentioned on a couple of occasions how quickly he took to paddle making. It didn’t surprise any of us though. He has the patience and eye for detail for this kind of thing. He probably made a great napkin holder when he was younger. As I moved on to shaping the blade, most of the others were past that, shaping their grips. It was clear I needed some help, and Bruce was quick to come over and help. We figured out my problem (one of them at least) was that I was way too tentative, afraid to make a mistake I couldn’t take back. (One thing I do remember from shop was that you can take more off, bet you can’t put back on.)
Shaping the blade is important to the the function for the paddle. It needed to be thin and rounded at the edges for a smooth catch of the water. But the great thing about these designs is that if you look at the bottom of one of Bruce’s paddles, it almost looks like a duck bill because the very tip is much thicker, but rounded. This makes the strength of the paddle much higher. I know none of us do this, but in the rare, rare occasions when you push on the tip of your paddle, it’s going to last a lot longer. I never, ever do this of course. Never. But if I did, it’s covered. (Turn your paddle upside down if you have to push off with your paddle. Do as I say, not as I do.)
 The Final Product
To carve the expected shape of the blade I finally started to get the hang of things, and even started to feel confident that this was going to happen. When the blade was done, I moved on to the grip feeling like a pro. Of course Bruce was there again to help out, as we were nearing the end of the day. It was kind of comical to see my tentative movements then to see Bruce show me how it’s done. He cut threw the wood with ease and confidence. I couldn’t help being a little impressed.
After a bunch of filing, some sanding, more sanding, a little more filing, I was looking down at a really nice looking paddle. I was also pretty happy with myself. There’s no way I could have done this on my own, but I was proud with what I had done. Maybe amazed might be a little more appropriate. This is an experience I couldn’t recommend more highly. You get a custom paddle, size and style of your choosing, a great day of fun hanging out with other paddlers, and the added bonus of a sense of achievement.
If you’d like to give this a try, contact Bruce at BruceSmithPaddles.com
So how did it turn out?
Another great element of the custom paddle is moving to an oil finish. It’s much nicer than varnish, for example. I even got to use an environmentally friendly option provided by Badger Paddle’s oil. The oil makes it so much smoother and more comfortable, and I might be alone here, but it also gives your paddle a great smell. (I was also quick to get one of their paddle socks to protect my new beauty.)
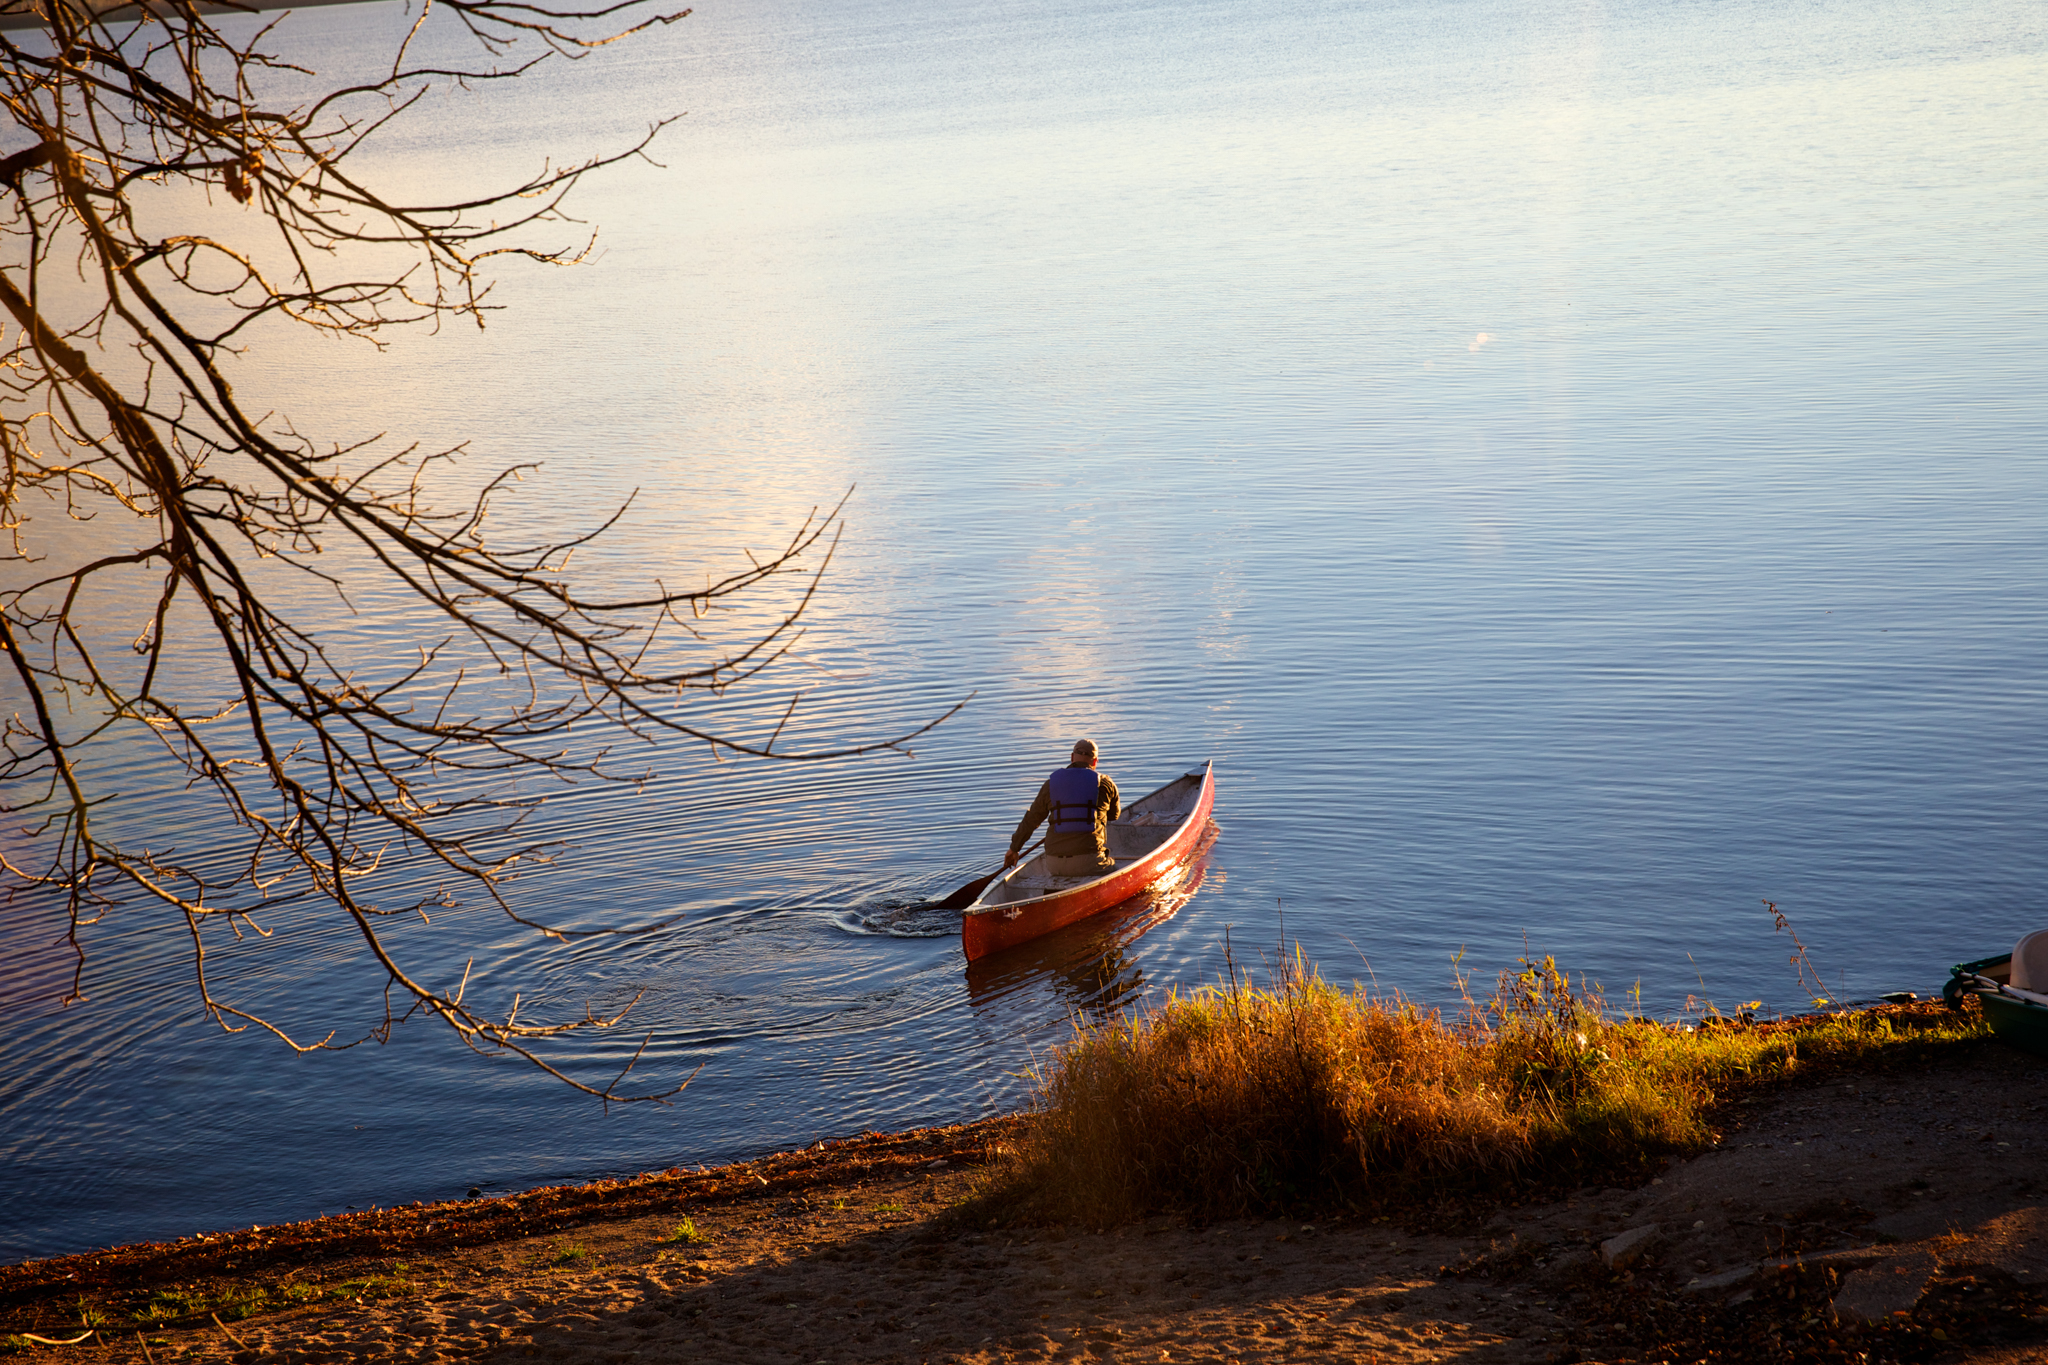
My paddle turned out quite well, and I’m very happy with it, but I waited out practically the whole season to use it because I wanted to finish it by burning the Portageur logo on it. Unfortunately, I couldn’t get anyone to do it for me. (Along with woodworking, I also lack in artistic talent, so I wasn’t about to try this myself. If you know someone who can do this, I’d be very appreciative if you could send me a contact.) I spent most of the summer paddling with the guys, quite jealous of how happy they were with their paddles. Of course once I got that bad boy wet I was more than thrilled. I had decent paddles before, but this was a whole different experience. Comfortable and solid, with smooth dips in and out of the water and fantastic pull and control. It’s almost like test driving a high end performance car. Thanks again Bruce.

 June 1, 2012
Going Solo In a Tandem Canoe
June 1, 2012
Going Solo In a Tandem Canoe
 July 28, 2023
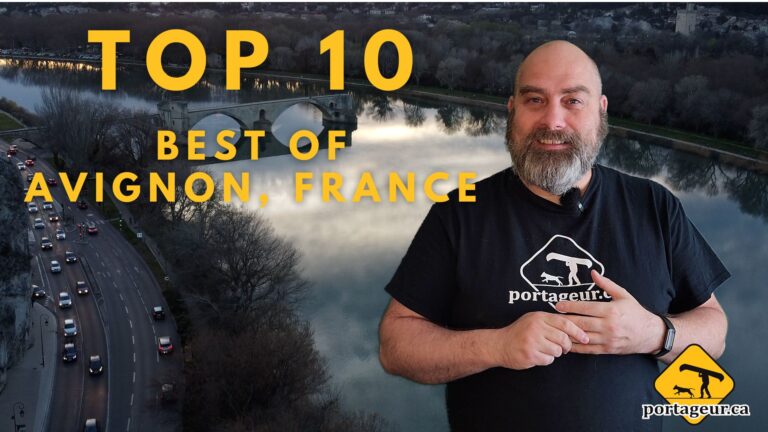
10 Best Things About Avignon, France
July 28, 2023
10 Best Things About Avignon, France
Come with me to Avignon, France as I talk about my absolute favourite things about visiting this historic, gorgeous town! […]
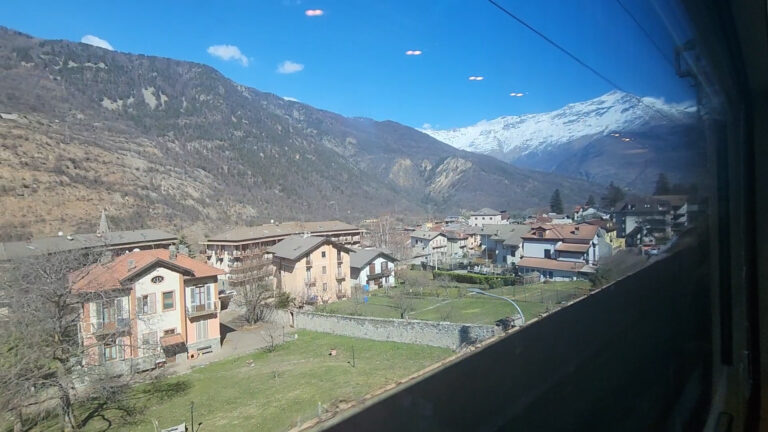
It was an adventure getting here, but I made it to Milan where I’ll be hanging out for the next […]
More fun stuff on my last day in Avignon. Sing it with me: Sur le pont d’Avignon, L’on y danse, […]
Session expired
Please log in again. The login page will open in a new tab. After logging in you can close it and return to this page.
Great write-up on Bruce….and job well done on your paddle….
Thanks so much, Mike. See you at the Outdoors and DIY weekend.
[…] story of the whole process….and did a job well done on his own paddle too….check out Portageur: Paddle Making With Bruce Smith for more. (By the way Bruce Smith will be at the Great Outdoors & DIY Show later this […]
I’m getting started on my second paddle very very soon, which will be a Christmas gift for my wife. I was looking around trying to find a place that sells the Surform tools (Cheese Graters) and it turns out there was one in her late grandfather’s old set of tools, All I need now are the blades.
Nice!
[…] that I made this paddle in a course run by W. Bruce Smith Paddles (if not, you can read about it here). The last thing I wrote about the experience was that I wanted to have my logo burned onto it, and […]